Community
- Forums Home
- >
- Revit Products Community
- >
- Revit Architecture Forum
- >
- Re: Detailed REVIT model to 3D print file
Revit Architecture Forum
Welcome to Autodesk’s Revit Architecture Forums. Share your knowledge, ask questions, and explore popular Revit Architecture topics.
Turn on suggestions
Auto-suggest helps you quickly narrow down your search results by suggesting possible matches as you type.
Reply
Topic Options
- Subscribe to RSS Feed
- Mark Topic as New
- Mark Topic as Read
- Float this Topic for Current User
- Bookmark
- Subscribe
- Printer Friendly Page
Message 1 of 13
Anonymous
23014 Views, 12 Replies
02-09-2015
09:57 AM
- Mark as New
- Bookmark
- Subscribe
- Mute
- Subscribe to RSS Feed
- Permalink
- Report
02-09-2015
09:57 AM
Hi! I'm wondering if anyone has any success stories for a workflow from Revit to 3D printing. I know there is a lot out there and I know how to export an STL file and make a print, but I mean as far as taking a very detailed model used for CDs to a clean, successful, good looking print. Machine to be used is a plastic filament extrusion printer (similar to the way a makerbot work but a different company). Typically you need a "watertight" volumes to print well and I'm wondering if there's a best practice to get there.
We're taking a detailed model through to a smaller scale solid print- meaning windows and mullions should be expressed but only in relief, not a void looking into the interior. I essentially want to shrink wrap the building and only have that form left... but how?
So I hid all the extraneous stuff - everything inside, gutters and snowguards, exterior louvers modeled as real with tiny little fins.
But.... it's revit. Sloped skylight walls don't join with the lobby roof properly. Some wall corner joins are a little funky. There are little holes at eaves if the roof conditions weren't modeled perfectly. I need to infill the openings left by the louvers.
Also - my walls have a thickness. So instead of printing a single exterior shell I imagine the 3d printer will print the interior surfaces of the wall as well which sounds like double the printing time?
So what now.... my first insinct would be to take this into another software (rhino) to manually try and close up holes, then use something with a mesh fix function (like 3d max maybe? deskartes? zbrush?) to examine and fix the mesh. If the wall thickess ends up being an issue I'd basically remodel all the exterior faces in rhino.
All those things sounds pretty tedious.... any thoughts?
Solved! Go to Solution.
Solved by rosskirby. Go to Solution.
12 REPLIES 12
Message 2 of 13
02-11-2015
04:08 AM
- Mark as New
- Bookmark
- Subscribe
- Mute
- Subscribe to RSS Feed
- Permalink
- Report
02-11-2015
04:08 AM
Maybe this can help:
https://apps.exchange.autodesk.com/RVT/en/Detail/Index?id=appstore.exchange.autodesk.com%3Astlexport...

Rafal Gaweda
https://apps.exchange.autodesk.com/RVT/en/Detail/Index?id=appstore.exchange.autodesk.com%3Astlexport...
Rafal Gaweda
Message 3 of 13
02-11-2015
07:51 AM
- Mark as New
- Bookmark
- Subscribe
- Mute
- Subscribe to RSS Feed
- Permalink
- Report
02-11-2015
07:51 AM
Hi Michelle.
We're getting into using a desktop printer (Makerbot Replicator 2X) as well, and have run into the same issues you have. The problem is that the way we model for CDs is different from the way you'd model for 3D printing (i.e. hollow volumes with dimensionally accurate walls vs. watertight solid, respectively). Unless you want to print at a large scale, and possible in multiple pieces, there's just not a good workflow to create a 3D print directly from a Revit model.
We export from Revit as fbx, import into Max, delete the cameras and sun, export as an STL, and import that into the Makerbot software. Now, depending on how comfortable you are working in Max, you could edit the geometry to "put some meat on the bones" and make some of it thicker, for better printing. I know there's software available for some of the commercial quality 3D printers that will allow you to do just that, but it will obviously compromise some of the design integrity of your project.
My best recommendation (based on my admittedly limited experience) is to break the model into finite segments, and then export the model as outlined above. You'll have to print your model in multiple pieces, and it will be a larger scale, and will use more material, and will take longer, but at some point there's a compromise between design integrity and 3D-printability.
Ross Kirby
Principal
Dynamik Design
www.dynamikdesign.com

Principal
Dynamik Design
www.dynamikdesign.com
Message 4 of 13
02-11-2015
11:41 AM
- Mark as New
- Bookmark
- Subscribe
- Mute
- Subscribe to RSS Feed
- Permalink
- Report
02-11-2015
11:41 AM
thank you, but this just exports it to an STL file which is a simple process, it doesn't address the issues of scale and printability I'm interested in.
Message 5 of 13
02-11-2015
11:52 AM
- Mark as New
- Bookmark
- Subscribe
- Mute
- Subscribe to RSS Feed
- Permalink
- Report
02-11-2015
11:52 AM
Ross,
Glad to hear others are trying to work this out as well. I think that's a good idea for a larger scale, unfortunately in this case I do have a specific scale I need to achieve.
There are some softwares that do have a "shrinkwrap" function, like the modifier in Blender (which apparently is free), which I'm testing out but I haven't gotten it to work properly yet. It's intended to model things like clothes on top of a complex surface so seems worth checking out, but haven't come across a good tutorial related to an architectural model yet.
Message 6 of 13
02-12-2015
01:22 PM
- Mark as New
- Bookmark
- Subscribe
- Mute
- Subscribe to RSS Feed
- Permalink
- Report
02-12-2015
01:22 PM
You guys should check out our free Meshmixer tool, which contains the capabilities previously fund in our 3D Print Utility. I understand that it does much of what you are asking for. Revit -> STL -> Meshmixer, and you should be able to use some of the automated tools to prep the model for printing.
-Kyle
Kyle Bernhardt
Director
Building Design Strategy
Autodesk, Inc.
Message 7 of 13
02-28-2015
10:02 AM
- Mark as New
- Bookmark
- Subscribe
- Mute
- Subscribe to RSS Feed
- Permalink
- Report
02-28-2015
10:02 AM
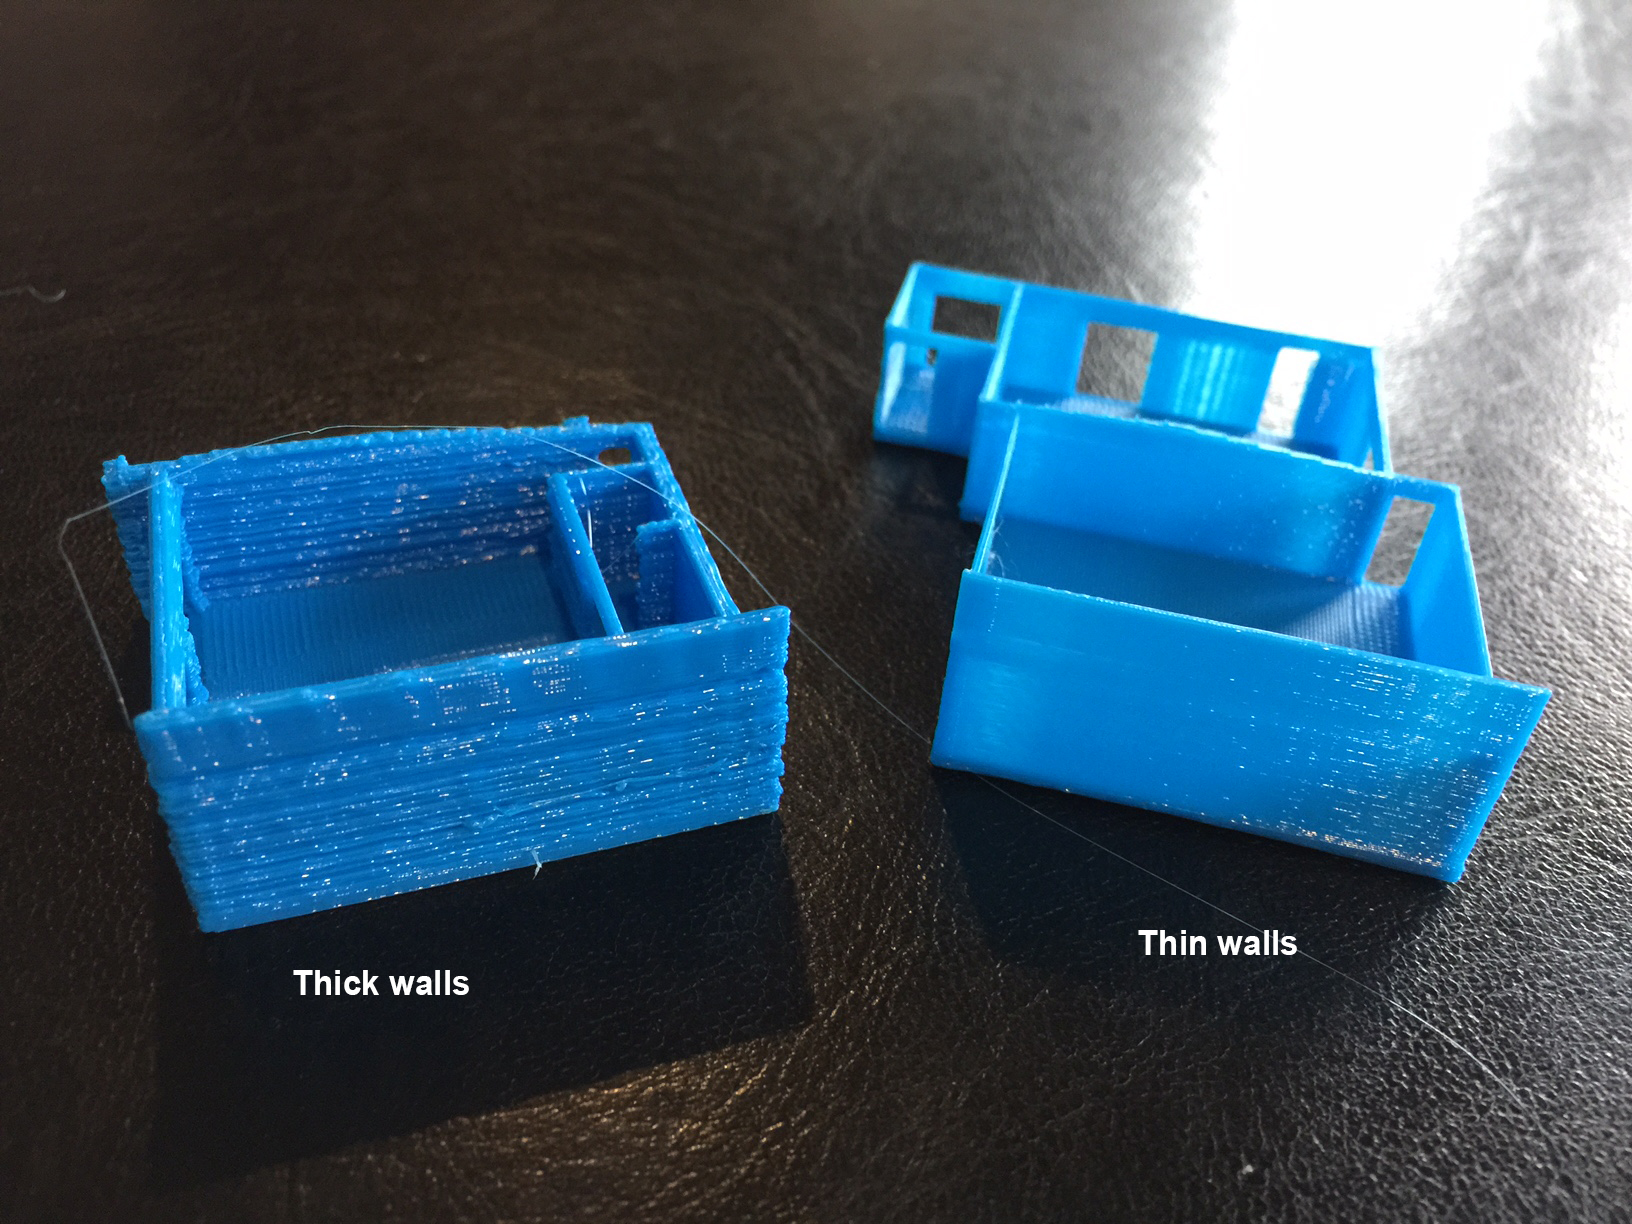
I have been trying to get my Makerbot Replicator 5th Generation to print from Revit for about a year. Before that, I was trying to get Revit to print to the Replicator 2 as well as a RepRap that I built. I have used Cura, Slicer, and several other slicing software. I finally succeeded in getting the foundation to print smoothly with the Makerbot 5th Gen. However, on all the printers the walls are poor quality. If printed at a small scale, with thin walls, the model prints O.K. If the walls are thickened, then they become "wavy" or "rippled" as one person put it. I have sent the gcode file through a viewer at http://gcode.ws. This is a free viewer to see the tool path movements. Herein, lies the problem. If you scroll on the slicer height, then you can see the wavy tool path movement within the walls. Also, the walls are 3 individual lines suggesting that they are solid. I tried using MeshMixer to hollow out the model, but got no results. I even tried making it solid in Meshmixer, but still got "ripples" in the walls. I have also tried Netfabb and Cadspan, which is the best for STL repair. In order to confirm the STL file was good, there is a viewer called "minimagics" by Materialize that you can verify the mode. I am exhausted at this point and have no direction to go now. I wish Autodesk would get involved. The guys at Makerbot are good and helpful, but aren't familiar with Autodesk products. Any suggestions???
Anyone feel free to contact me if you wish to discuss this issue.
Robert Cummings
(713) 550-7331
rc@cummingsdevelopment.com
Message 8 of 13
03-03-2015
09:43 AM
- Mark as New
- Bookmark
- Subscribe
- Mute
- Subscribe to RSS Feed
- Permalink
- Report
03-03-2015
09:43 AM
Here's what we have done to get good FDM prints from Revit models at my company:
First, we make certain to make clean models that we try to be 100% Revit-native. No gaps between walls, floors, ceiling; no Families made of imported DWG meshes, no zero-thickness Ceilings or Massing surfaces if we can help it, etc. Revit makes it pretty easy to model clean, and a lot of errors in the print typically come from a bad model. We'll also usually have a 3D View with categories / filters to make an 'export view' that will contain just the data we want.
Second, we don't use the open-source .STL exporter for Revit. We instead file-link our models into MAX and cleanup whatever may need to be dealt with using it's powerful modifiers. Like finding and deleting all stray model lines, thicken any zero-thickness surfaces (like basic ceilings), even simplifying the mesh without altering it too much, etc. I know, I know, it's terribly stupid to use a multi-thousand dollar animation package as a go-between here, but sadly because Revit's mesh-based exports are so limited, but it talks to MAX so well, we've found it's our go-to for things like this.
Third, we THEN scale things down to the correct print size in MAX, and export out to MeshMixer via OBJ. Had better results with OBJ than STL. STL is a brutally 'stupid' format that doesn't carry much information and renders everything into triangles. OBJ can have more complex faces and carries more information, and we've had better results waiting until the very last moment to go to STL.
Fourth, we use Meshmixer's great 'pre-check' toolset to test/prep the model for printing problems and to help generate whatever supports we might need to make. Meshmixer is AWESOME in that it even knows what a MakerBot is and can make supports / show problems for your specific machine.
Fifth, then we export the STL from Meshmixer to CURA, where we prep the actual g-code.
Last, we were using a Type-A Machine printer to make our prints, and had decent enough results.
Hope this helps!
Jeffrey McGrew
Message 9 of 13
03-18-2015
06:05 AM
- Mark as New
- Bookmark
- Subscribe
- Mute
- Subscribe to RSS Feed
- Permalink
- Report
03-18-2015
06:05 AM
Have a look at www.hsbLABS.com how we split a Revit model in logical pieces for easy printing and assembly...
This product will be launched next month.
Message 10 of 13
03-24-2015
08:22 AM
- Mark as New
- Bookmark
- Subscribe
- Mute
- Subscribe to RSS Feed
- Permalink
- Report
03-24-2015
08:22 AM
Jeffrey,
Thanks for the help. There is an OBJ exporter for Revit. Here it is:
http://www.inglegreen.com/?p=206
Thanks for the help. There is an OBJ exporter for Revit. Here it is:
http://www.inglegreen.com/?p=206
Message 11 of 13
04-03-2015
01:00 AM
- Mark as New
- Bookmark
- Subscribe
- Mute
- Subscribe to RSS Feed
- Permalink
- Report
04-03-2015
01:00 AM
I just checked the video - and its pretty appealing.
I reckon that its also possible to set the output metric scale of the prints?
Regards,
Harald
Message 12 of 13
Anonymous
in reply to:
Anonymous
04-03-2015
02:05 AM
- Mark as New
- Bookmark
- Subscribe
- Mute
- Subscribe to RSS Feed
- Permalink
- Report
04-03-2015
02:05 AM
Hello Harald,
You will be able to set a metric scale in a metric project and an imperial scale in an imperial project.
Regards,
Robert
Message 13 of 13
07-15-2024
04:28 PM
- Mark as New
- Bookmark
- Subscribe
- Mute
- Subscribe to RSS Feed
- Permalink
- Report
07-15-2024
04:28 PM
This is a pretty old thread, but I am still in search of a solution for this. Ideally, I would like to export the shell of a building that I could make a solid object. I want to print 100,000 sqft building a couple inches wide and the walls and ceilings become nearly non-existent at that scale. I really need the buildings turned into solid objects for 3D printing to work. Has anyone solved this yet?
Reply
Topic Options
- Subscribe to RSS Feed
- Mark Topic as New
- Mark Topic as Read
- Float this Topic for Current User
- Bookmark
- Subscribe
- Printer Friendly Page
Forums Links
Can't find what you're looking for? Ask the community or share your knowledge.
Post to forums
