


Message 1 of 19
- Mark as New
- Bookmark
- Subscribe
- Mute
- Subscribe to RSS Feed
- Permalink
- Report
Hi,
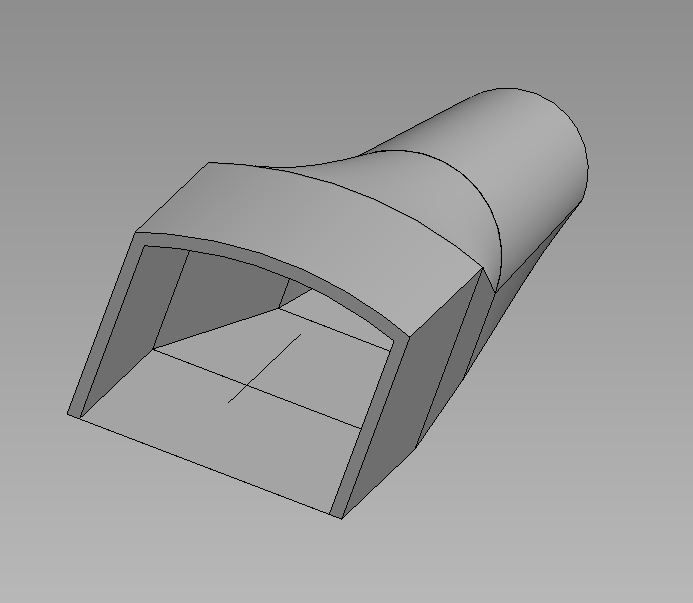
I've created :
- a generic model (the profile named P)
- nested in an adaptive component family (1 adaptive point orienting my profile Global (Z) then host (XY) named O)
- nested in an adaptive component family (named S)
In S I drew a spline driven by 3 points. I put various profiles along the spline. I want them to be always vertical and perpendicular to the spline in XY. When the 3 points are on the same plane, everything is fine. But when I move one adaptive point so that my curve is non planar, the profiles are not perpendicular to the spline any more.
Solved! Go to Solution.


