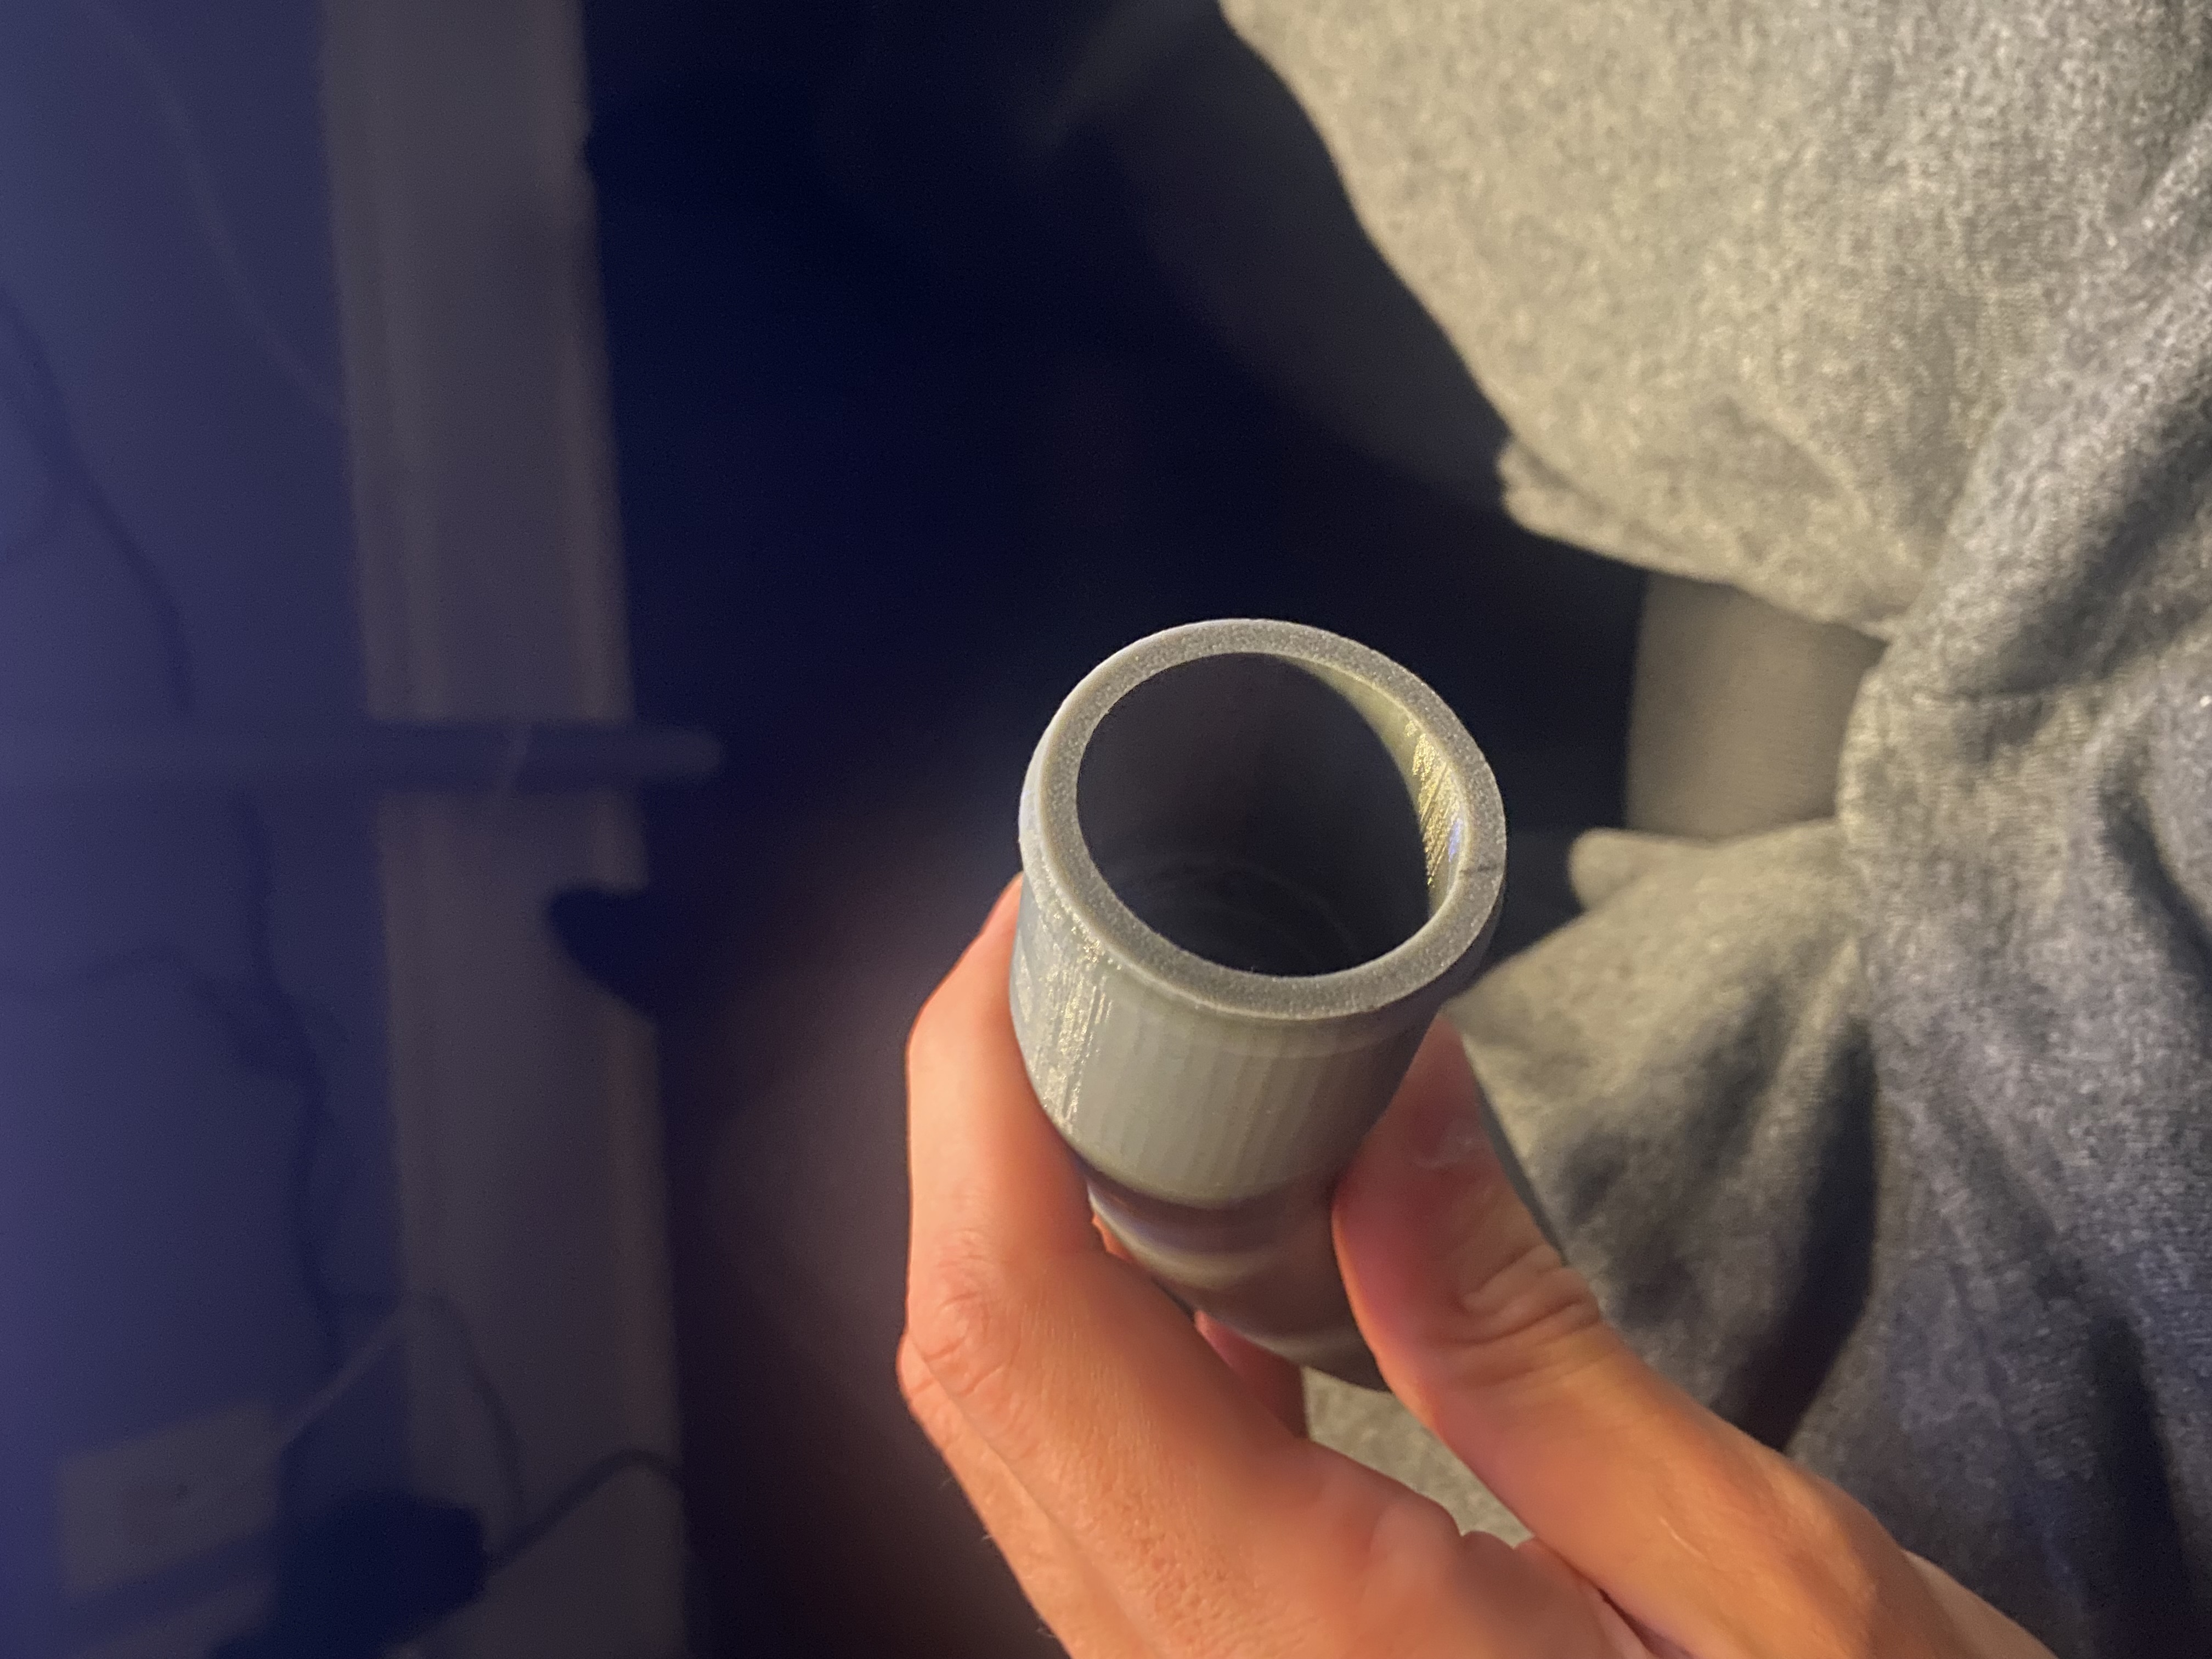
Shell fails on lofted curved vacuum adapter (3mm thickness)

Shell fails on lofted curved vacuum adapter (3mm thickness)

tscarrott07
Contributor Contributor
2,892 Views
34 Replies
Message 1 of 35

Shell fails on lofted curved vacuum adapter (3mm thickness)

tscarrott07
Contributor
Contributor

Hi,

I’m modeling a vacuum adapter in Fusion 360. It’s a lofted elbow that transitions from a circular bottom to a rounded-rectangle top.

When I try to Shell it at 3mm thickness (inside direction), I get: “The shell cannot be created at this thickness. Try adjusting the thickness, the selection set, or change the shell type.”

Details:

  • Lofted body (not mesh)

  • No mesh conversions

  • Thickness desired: 3mm

  • Shell fails even when selecting only one open face

  • Geometry includes a curved elbow transition

  • Some fillets exist after the loft

I suspect the inside offset is self-intersecting in the tight bend area.

What is the proper engineering approach here?

Is it better to:

  1. Shell before fillets?

  2. Use manual inner loft + Combine cut?

  3. Modify loft guide rails?

  4. Something else?

Or maybe none of these are the solution. I just need help, I am new to fusion 360 and put a lot of effort into this thing, and don't want to have to redo the whole thing.

I’ve attached the .f3d file.

Thank you.

0 Likes
2,893 Views
34 Replies
Replies (34)
Message 2 of 35

TheCADWhisperer
Consultant
Consultant

@tscarrott07 wrote:

I am new to fusion 360 and put a lot of effort into this thing, and don't want to have to redo the whole thing.


Would you be willing to redo the whole thing if I put in the effort to walk you through best practices step-by-step?


Are there any unresolved issues highlighted in your Timeline?

Does Ctrl b (CMD b on Mac) return any issues?

Are all of your sketches fully defined?

How many solid bodies do you have?

If this were my model, I would not have any Moves of the solid bodies.  Move is almost always the wrong move as used by beginners.

Do these (missing) dimensions make logical sense?

TheCADWhisperer_2-1771563396051.png


TheCADWhisperer_0-1771562995565.png

TheCADWhisperer_1-1771563078395.png


Message 3 of 35

tscarrott07
Contributor
Contributor

Yes I would be willing to redo it if you walked me through it.


There are no unresolved issues in my timeline that I can see.


Yes, pressing ctrl b returns a quite a few issues, but they could be from objects that i have invisible or something.


I have 4 solid bodies.


I have quite a few hidden sketches.

0 Likes
Message 4 of 35

tscarrott07
Contributor
Contributor

And oh wow, how did you do that?! is there any way for you to send me that file?

0 Likes
Message 5 of 35

tscarrott07
Contributor
Contributor

No those missing dimension dont make much sense. I think i know what those were from, but they are not active.


Do you recommend i remove all sketches, bodies, and construction planes that i have as not visible, and arent serving a purpose?

0 Likes
Message 6 of 35

tscarrott07
Contributor
Contributor

And hey how exactly did you shell it?

0 Likes
Message 7 of 35

TheCADWhisperer
Consultant
Consultant

@tscarrott07 wrote:

There are no unresolved issues in my timeline that I can see..


Actually, there are quite a few issues highlighted in RED.

TheCADWhisperer_0-1771564087143.png


0 Likes
Message 8 of 35

TheCADWhisperer
Consultant
Consultant

@tscarrott07 

I will walk you through it step by step.

You will end up doing it very very differently and a lot less work. 

(It would take me about 45 minutes, but it will take longer to teach you how to do it correctly.)

Message 9 of 35

tscarrott07
Contributor
Contributor

Oh that's what that means.

0 Likes
Message 10 of 35

tscarrott07
Contributor
Contributor

How were you able to get those screenshots of the shelled version? And man thank you so much bro i really appreciate this.

0 Likes
Message 11 of 35

TheCADWhisperer
Consultant
Consultant

@tscarrott07 wrote:

How were you able to get those screenshots of the shelled version? And man thank you so much bro i really appreciate this.


On Windows OS the Windows command Shift Win S is screen capture and then Ctrl v is paste.

0 Likes
Message 12 of 35

tscarrott07
Contributor
Contributor

No lol what I mean is did you edit my file in fusion and manage to get your own version that was shelled?

0 Likes
Message 13 of 35

TheCADWhisperer
Consultant
Consultant

@tscarrott07 

I made some quick changes to your model and then Shelled first at 1mm to make sure it would shell and then at 3mm.

It is getting close to my bedtime - so check back tomorrow to see how I would model this part.

(I might get a little done on it tonight.)

0 Likes
Message 14 of 35

tscarrott07
Contributor
Contributor

Ahh ok. Yea me too. Ok perfect thank you so much.

0 Likes
Message 15 of 35

tscarrott07
Contributor
Contributor

Hi can you describe to me the quick changes that you made? Removed text, what else. Because maybe after those changes are made, and we shell it at 3mm, then we can readd the text and then boom we're done?

0 Likes
Message 16 of 35

TheCADWhisperer
Consultant
Consultant

@tscarrott07 wrote:

... and then boom we're done?


That is not how I work.

The entire design effort was rubbish.

I only produce high quality work.

0 Likes
Message 17 of 35

tscarrott07
Contributor
Contributor

Ah, makes sense. Yes, and to be fair haha, this was actually my first ever cad design, kinda brute forced it, I appreciate you want it to be quality, so do I. 


Alright can we go step by step?

0 Likes
Message 18 of 35

TheCADWhisperer
Consultant
Consultant

@tscarrott07 

I am working on first video. 

Check back.

Message 19 of 35

TheCADWhisperer
Consultant
Consultant
Accepted solution

@tscarrott07 

(view in My Videos)

Message 20 of 35

TheCADWhisperer
Consultant
Consultant
Accepted solution

@tscarrott07 

(view in My Videos)