Community
Advance Steel Forum
Welcome to Autodesk’s Advance Steel Forums. Share your knowledge, ask questions, and explore popular Advance Steel topics.
Turn on suggestions
Auto-suggest helps you quickly narrow down your search results by suggesting possible matches as you type.
Reply
Topic Options
- Subscribe to RSS Feed
- Mark Topic as New
- Mark Topic as Read
- Float this Topic for Current User
- Bookmark
- Subscribe
- Printer Friendly Page
Message 1 of 2
Anonymous
561 Views, 1 Reply
06-26-2020
12:13 PM
- Mark as New
- Bookmark
- Subscribe
- Mute
- Subscribe to RSS Feed
- Permalink
- Report
06-26-2020
12:13 PM
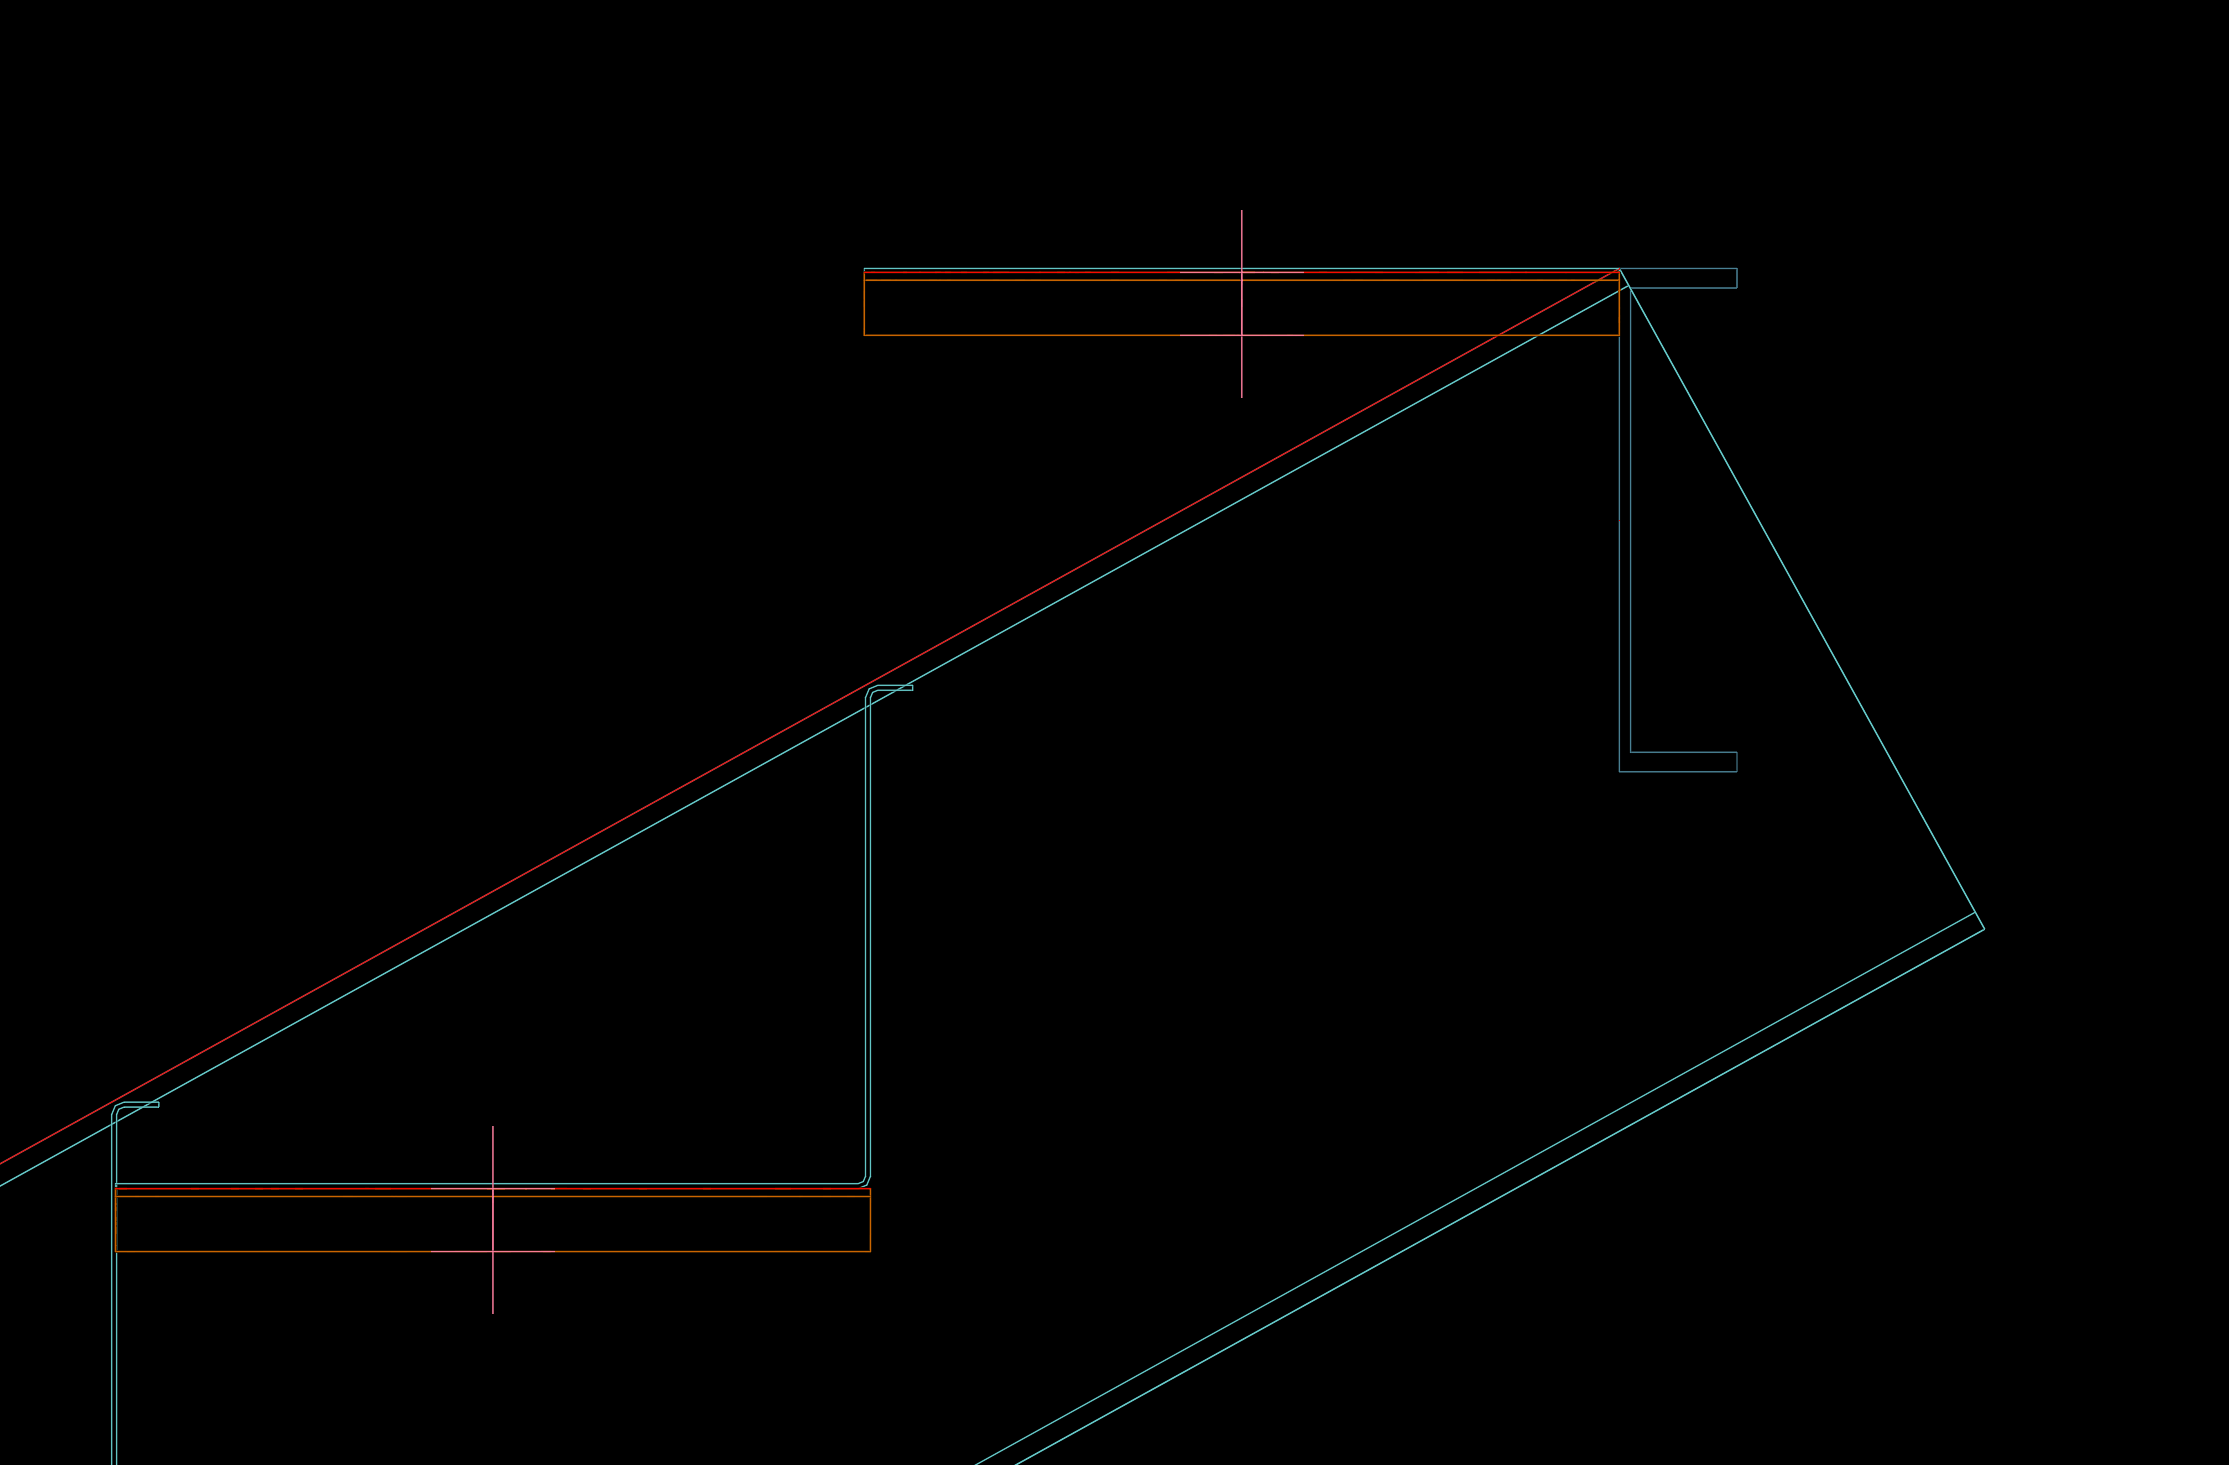
Stair tread only
So i have searched around and can't find what i need.
The top stair i want it to be just the tread since the channel will be used as a riser.
i want it to look like the stairwanted picture. but if i remove the back length, the stair tread moves up where the stair starts. see STAIR MOVED picture.
Is there a way to do this without removing the macro box. or should i just remove top stair and add a separate plate and angles?
1 REPLY 1
Message 2 of 2
06-27-2020
04:35 AM
- Mark as New
- Bookmark
- Subscribe
- Mute
- Subscribe to RSS Feed
- Permalink
- Report
06-27-2020
04:35 AM
Hi,
So with this because of the Tread type used, i think it is type 21, with this one the controlling system line is still placed at the nosing point, but the body of the Tread is projected forward and downwards to create the overlap at the nosing point.
so because of this, when selecting the top tread to be on and of just a flat plate configuration, this will position it at the very top of the stair, this is because the vertical distance is moving the Tread downwards to from the required pattern.
with the type of layout required, i cannot see how you can get round this, but as we most things there is a possible solution that can be achieve without removing the macro dialog. I would always try to keep the macro in place if at all possible, in case of major changes in the stair set-out, but this does not preclude you adding to that macro and using it to get what you want.
so with this in mind, i turned on the top tread in the macro, left it as type 21 and then went in and unchecked 'same as others', this opens the dialog and allows me to change that top tread dimensional and type, but only dimensional in this case, so changing the tread dims, to remove the elements not required like the back, front and lips by entering '0' in the dialog. leaving the base at 250 ( or can adjust to come behind previous tread by thickness. then with this set use Advance copy to copy the tread and fittings down the required set out in this case -230mm, with the AS copy, the welds/connections are added into the stringer as be the macro settings.
then just go back in an turn of 'create last tread' under the top landing settings, then go to the top tread dialog and recheck 'same as others' and the trad pattern will revert to be the same as all the others and complete the stair.
screencast : https://autode.sk/3g4TLXi
hope that helps out.
John Bennett
Did you find this post helpful? Feel free to Like this post.
Did your question get successfully answered? Then click on the ACCEPT SOLUTION button.
Reply
Topic Options
- Subscribe to RSS Feed
- Mark Topic as New
- Mark Topic as Read
- Float this Topic for Current User
- Bookmark
- Subscribe
- Printer Friendly Page
Forums Links
Can't find what you're looking for? Ask the community or share your knowledge.
Post to forums
