Sorry for so many Edit, but read my conclusion.
Hi there I also uploaded your f3d to my Fusion and I had found something and I attempted to fix for you. The Fusion Team might have other ideas but this is what I had found.
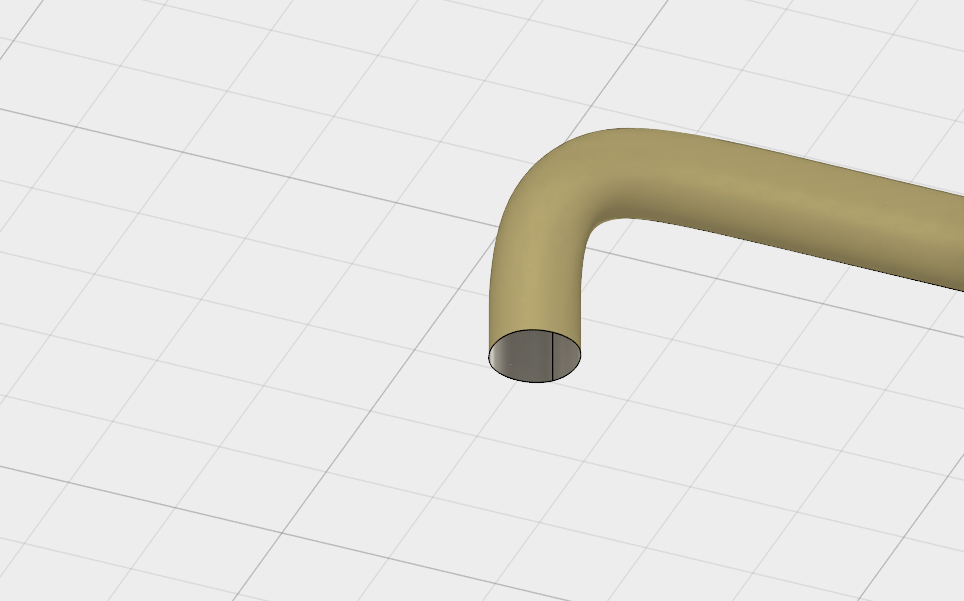
1) Your tube is an opened Patch type surface, not really a solid that can be selected. Screen Shot 1, body (30) is showing that it is a patch type surface.

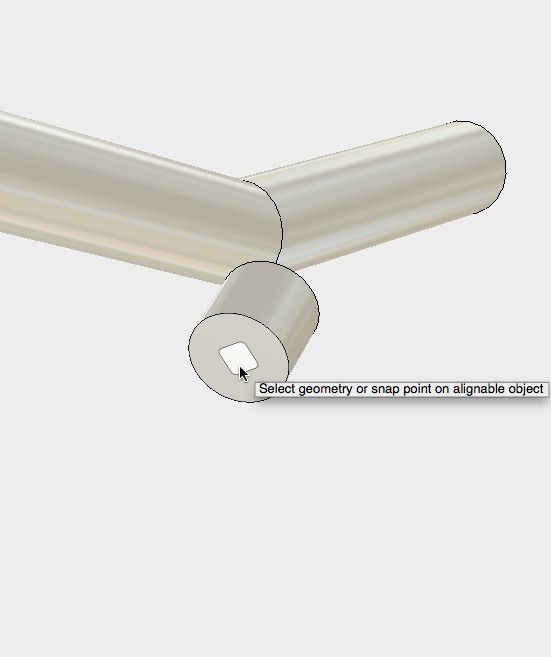
To do that, I had created a solid cylinder with a hole in between called Body (32) in Screen shot 1 to show you the joint action. I had dimmed out your other components.
Now you have to give your pipe Body 30 some kind of thickness to become a real solid. So you go to "Patch" workspace (Parametric Mode fine here) select your Body (30) and select Thicken. For example, I thickened that by 2.00 mm. Screen Shot 2

You will see my Body 32 right next to your pipe, now a solid with a wall thickness of 2mm.
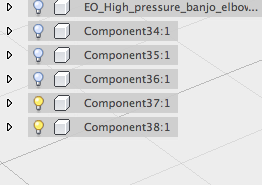
Now you switch back to "Model" workspace by selecting that at the browser window. Now you should be at the Model Workspace and you can see clearly Body32, the one I had created, and a new solid Body33, the one you had added a thickness of 2.00mm to surface patch body30. You can dim out the light bulb of body30 now. but do not delete that. Not at the parametric mode.

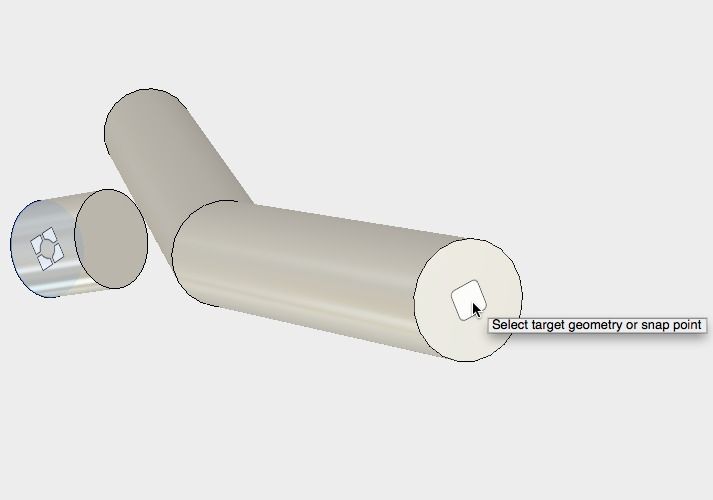
You cannot use "Align" here because it will not work on your pipe due to one reason or another. But Body 32, the one I created can. So to joint them together you have to use Joint at the Assembly menu.
To do that you have to create components from bodies. You select that at the browser top bar. Then you had created two new components: Component 37 and component 38.

The pipe (now a component) could not use Construct to get a mid point for some reason, so you have to use "Joint Origin" to create a joint origin and move that to the approximate middle of your pipe. There are ways to get the mid point of your pipe but that is another technique that you have to find out yourself. Not the scope of this simple demonstration. The Cylinder I created does not require that because it is perfectly round.

Now Click Joint and select both of your pipes (yours and mine) and they will joint together the way you wanted it:


By looking into your browser component structure, you had done a very good job. Maybe you should start creating some main components and sub components and move the related components into Sub-Assemblies. And provide better labeling to them.
I think your pipe creation must be done in a manner that resulted in a pipe that construct could not locate a mid point, nor "Align" can locate a point of reference at your pipe for the align works.
Anyway my demonstration seems a bit complicated but as a simple user that I am (definitely not an expert!), if I could fix that, you can too..... Well I had a lot of fun analyzing your model and believe me or not, I am not a member of the Fusion Team. Just a simple user.
My last Conclusion of your file: EASIEST IS TO DELETE BODY30, and use PIPE from the model workspace to create the pipe, select "Hollow" and give it some thickness. That will work with "Align"
My demonstration above just shows that if Body30 is created but the Sketch line deleted, then you have to do it that way. I found that your sketch line is still here. So Delete Body30, and use Model Workspace, Pipe to create a good round pipe!
Hope it helps you out. Have fun!
Cheer! from Hong Kong again.
