Shoes -extending complex curvature

Shoes -extending complex curvature

Anonymous
Not applicable
1,119 Views
10 Replies
Message 1 of 11

Shoes -extending complex curvature

Anonymous
Not applicable

Hi,


I am new to fusion 360, but experienced with shoe development. I feel like I've gotten pretty close to end goal of making a design to scale, but running into a couple issues with making sections of the leather overlapping just the way I want them to for stitching. Hoping that some more experienced users can provide some insights. Attached is a dummy shoe I have created (quickly) to showcase the issues I am having with my designs. 


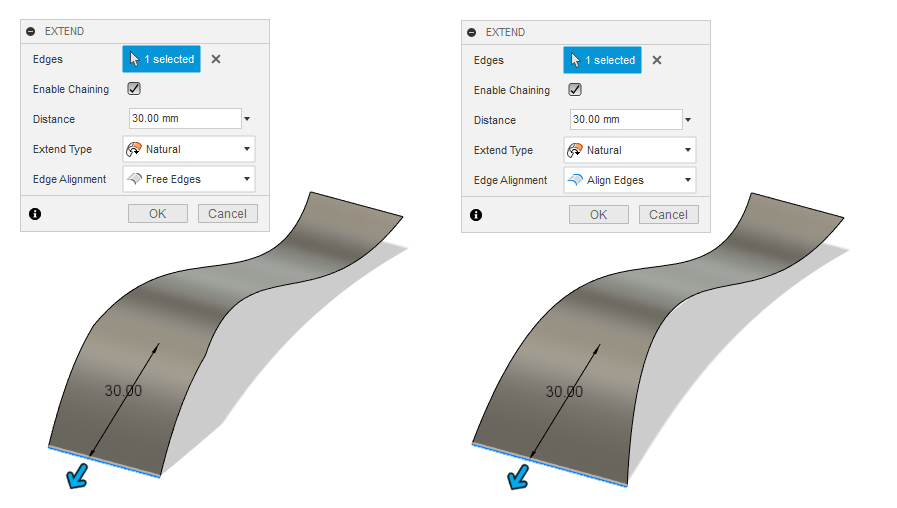
1. Where the main body of the shoe meets the outer and inner flaps (labeled accordingly in file), I need approx 3 mm of overlap between the 2 bodies where circled in the PNG file named "Cap toe practice -main body meets flaps". I can extend the edges, but not successfully. I need there to be to have a continuous curve. I have played around with starting as a model where I can pull and push vertices, rather than trying to edit a surface, but I run into fit issues, as the shoe is altered in the process. Ideally, if I go the model route, there is a way I can play with vertices and edges while following the original body shape. Any insights would be greatly appreciated.


2. The second issue is when creating cuts, such as the one on the cap top portion of the shoe. Please reference PNG file "Cap toe practice -cap toe". Essentially, what happens, is that I get the curvature on the top portion of the shoe correct, which is the most important, but the sides come out a bit wonky, where it looks like the program essentially straightens the curve, then reverses it as it follows the surface to the edge. There are times, where I may want this and other times where I wan the curve to continue across the surface across all planes. Any ideas on how to make my cuts more strategically in this case?


Thanks for your time!

0 Likes
Accepted solutions (1)
1,120 Views
10 Replies
Replies (10)
Message 2 of 11

YoavFriedlander
Advocate
Advocate

It is not a full answer yet - but have you tried playing with the new feature added in this month's update? the extend tool in the surface environment now can follow the edges of the surface to create a more complex extension the conforms to the direction the original edges (kind of extended guide rails). 

click here for the update page

"

Edge Alignment Options in Extend Command

Design workspace > Surface Tab > Modify Panel > Extend


"The Surface > Extend command now has a new Edge Alignment option that lets you select between Free Edges or Align Edges. Free Edges will behave as before, where the edges of that surface will extend in the direction of the manipulator, whereas Align Edges will align the edges in direction the edges are going."

0 Likes
Message 3 of 11

g-andresen
Consultant
Consultant

Hi,

take a look at several Fusion Shoe Tutorials 


günther

0 Likes
Message 4 of 11

YoavFriedlander
Advocate
Advocate

@Anonymous first time for me trying the new feature with a lot of success it seems (or it seams lol) 

Screen Shot 2020-09-16 at 2.43.08 PM.jpg

Screen Shot 2020-09-16 at 2.43.16 PM.png


Message 5 of 11

Anonymous
Not applicable

Thank you @g-andresen,


These are very helpful, but after reviewing several of these videos, they seem to have the same problem that many other tutorials have. Visually, the shoes that are made are beautiful, but there is not a strong regard for minding fit or desired shape of shoe. Since shoe fit is specific to the mm, it is crucial to make visual changes that honor the exact shape.


Robby G.

0 Likes
Message 6 of 11

Anonymous
Not applicable

Hi @YoavFriedlander ,


*Love the shoe humor*


Thank you for showing me this capability! I will continue to play around with this tool; however, it forces other areas of the surface to extend with it. Ideally, I need to be able to execute the attached image, where I drew the new surface that needs to be created.


I may be able to work around with this new feature, so I will come back and mark as resolved if I can get this to work.


Thanks for you time!


Robby G.

0 Likes
Message 7 of 11

ritste20
Collaborator
Collaborator

I didn't go back and look through your model but from the last picture you posted, that's not truly extending the surface, but instead changing the profile. Maybe if you extruded a surface across the toes that represented the desired end of the cut, you could extend "to object" or extrude the edge to object and pick the new surface as the terminator.


I will try and play around with this later if I have some time.


Regards,


Steve Ritter
Manufacturing Engineer

AutoCAD/Draftsight
Inventor/Solidworks
Fusion 360
Message 8 of 11

Anonymous
Not applicable

@ritste20 , tried the first method of an extrude to surface cut, and the results where the same as a cut with sketch. Then, I tried extrude to object and got an error message. See attached.


I realize in this file there is not an object because I did an offset to surface to start with, but I went to my original (where this is an object to extrude to and got the same message). What am I doing wrong? I even toggled back and forth between "chain faces" selections.

0 Likes
Message 9 of 11

ritste20
Collaborator
Collaborator

Extrude to object can be finicky with complex curvature. If you are extruding that surface just to use as a tool body or cutting surface for other geometry, I would just extrude it some arbitrary distance above and below the extent of the pieces you will be shaping with it later on. Then you can simply turn off the visibility when you're done or remove the surface body.


If I remember correctly, you were trying to adjust the front termination edge of the side pieces to represent a more realistic pattern cut. You could just go 1/2" above and below the toe profile and that should be sufficient.


Let me know how you make out. Can you post the file that you were getting the errors with?


Steve Ritter
Manufacturing Engineer

AutoCAD/Draftsight
Inventor/Solidworks
Fusion 360
0 Likes
Message 10 of 11

Anonymous
Not applicable

@ritste20 , that is what I did originally, which produced this funky cut. I will just see if I can follow up with one of the autodesk designers. Hopefully I can get this resolved. Thanks for your insights.

0 Likes
Message 11 of 11

Anonymous
Not applicable
Accepted solution

I was able to find a work around to this by creating several iterations of the cut I needed at different angles, then patched all of them together as surfaces to get the desired result. Thanks for all the help!