Race car tube frames

Race car tube frames

daveGHHGW
Participant Participant
2,236 Views
11 Replies
Message 1 of 12

Race car tube frames

daveGHHGW
Participant
Participant

Fairly new guy here. I’m trying to make drawings of a Formula Ford chassis I have. I read posting from 2019 “Struggling with workflow on a chassis design” and watch “Lars” video 100 on tube frames, but still a little lost. I’ll try to Capitalize menu picks/commands in the post.


I created a Sketch for my front bulkhead, where the master cylinders, steering rack and front A-arms will mount. I then put Pipes in place of the lines in the sketch adding them as Bodies. “Tubes” don’t seem to be available in Fusion Free version and “Pipes" come in Round, Square and Triangle, so obviously not black iron Pipe so I figure that is correct. 


Then I have to Move some of the Pipes from the Sketch plane as the rear surfaces all have to line-up for the sheet metal bulkhead to attach to it.


Then I Select a circle in my Bulkhead Sketch and Extrude the Left Bottom Frame Rail.


Problem: Then when I try to Split Bodies to trim the tubes at the junction, I get “Compute Failed”.


I trimmed up the one joint by doing a Push/Pull but that cant be the “Right” way to do it.


Open to comments on my workflow. Should I be making each Pipe a Body? Does moving those Bodies out of the plane of the sketch mess them up?


I’m trying to document an existing design, so changing the design would defeat the purpose.


Thanks for any input. Attached paper sketch, photo of car.

Dave 


Front Bulkhead Royale Drawing.JPGFront Bulkhead Royale Picture.JPG

0 Likes
Accepted solutions (1)
2,237 Views
11 Replies
Replies (11)
Message 2 of 12

Drewpan
Advisor
Advisor

Hi,


I would strongly recommend that you read the Docs and do the embedded Tutorials and then have a look at the Self

Paced learning. Time spent doing this is NEVER wasted.


Things that jump straight out.


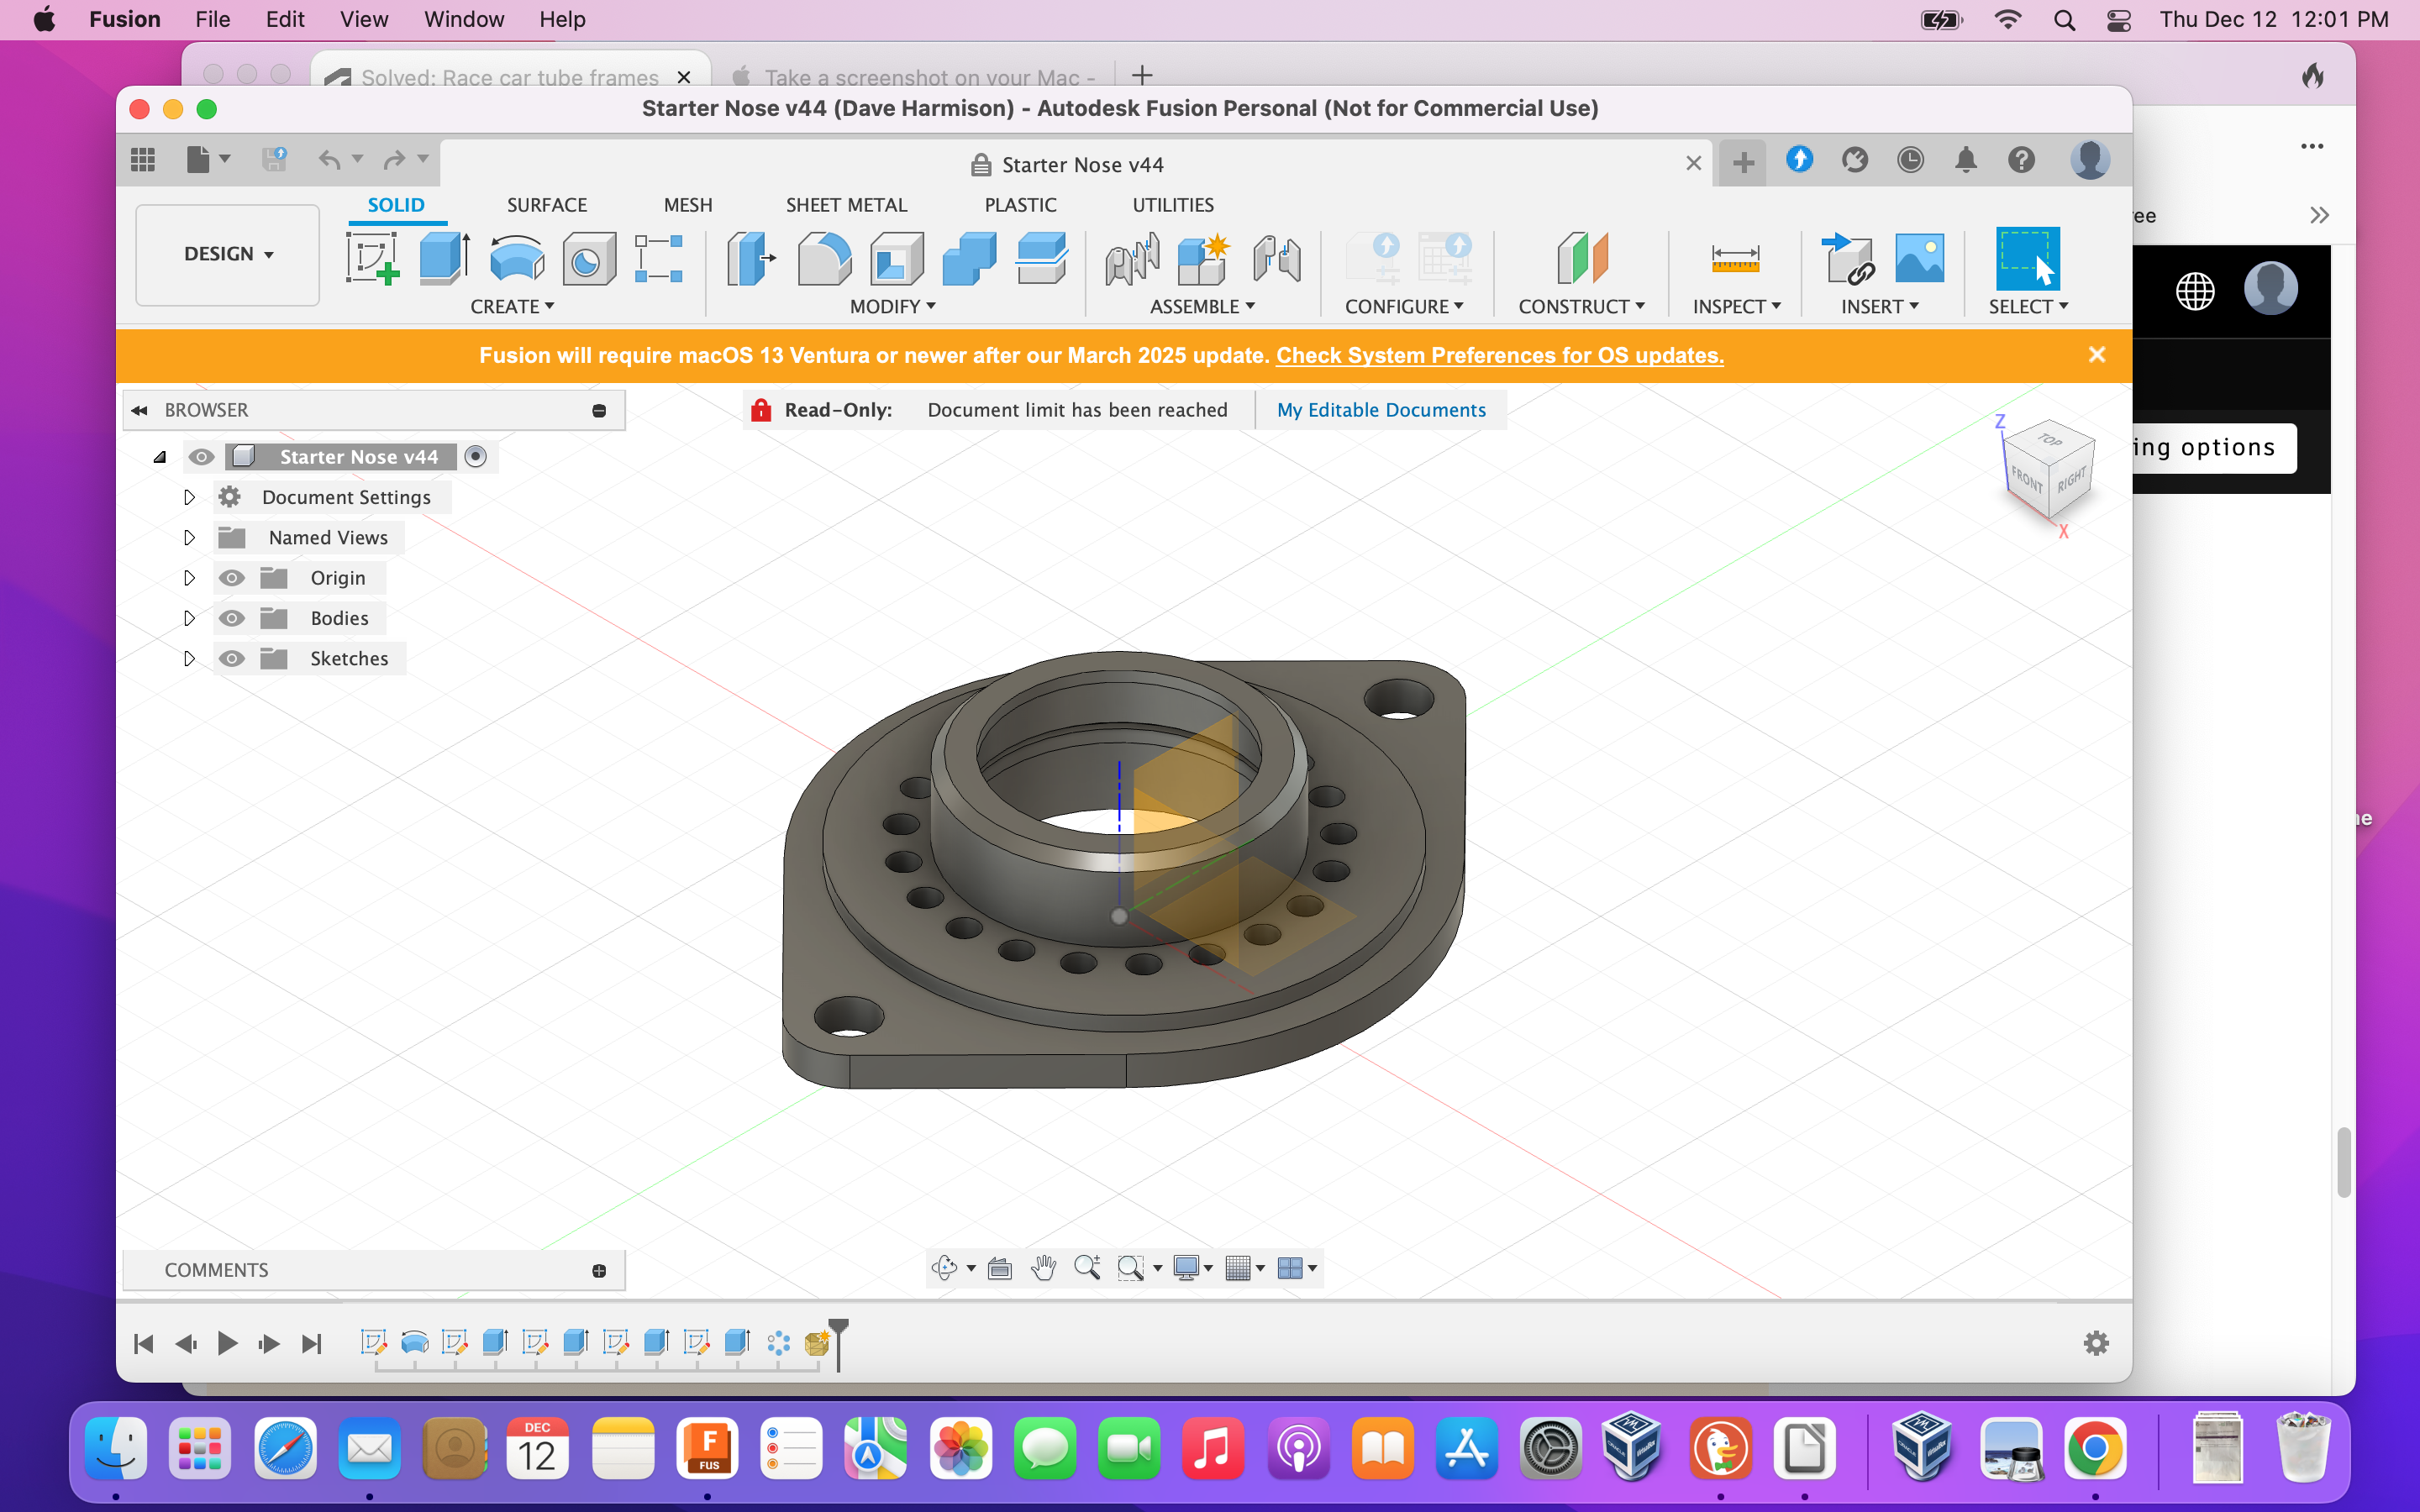
You don't have any components, only bodies. In it's present form this design will not work or certainly not work the

way you think it will. In fusion you need to connect Components together with Joints, Bodies just hang in space

and are not joined unless you tell fusion to join them and then they become a single body.


Your very first sketch is not fully constrained. There is a good reason you should always constrain and define your

sketches. Sketches are meant to be aids to creating your model and in general should be simple and only do one

or two things at a time. Complicated sketches break easily. Use simple sketches and then use the tools to create

your Model. Always look for symmetry to save time. It is much easier to fully constrain half of a sketch and then use

the Mirror command to make the other half.


Do NOT move things around unless it is absolutely necessary. The Move command forces fusion to do a full

recalculation for EVERY instance of move, even if the very last thing you did was a move it will recalculate

everything from the beginning again. With a simple model you will not notice, with a complicated model it will

hammer performance.


There are two common reasons that users will use the Move command - to move something out of the way because

they cannot see, or to place it somewhere else. Both of these workflows are incorrect. You should be using the

visibility icons in the browser tree to aid with seeing around things. You should be using Joints to move things

around to where they should be OR create the Component in place.


You did use Remove Body which is good. Deleting the body makes it unrecoverable if you made a mistake, Remove

lets you get it back if you need it for some reason.


I am not sure why you have used the Pipe command when you could have used Extrude to achieve the same thing

without all of the Split Body and Removes. I am also not sure what your issue is with the Pipe command. You are

simply creating square or round pipes, what do you need? A simple sketch and extrude does the same thing in any

shape you want.


There are two basic methods of design often used in fusion. The first is Design at the Origin where you make each

different Component in reference to the actual Origin and then use Joints to move them and connect them to other

Components. The second is Design in Place where you create the Component at the actual position you want it and

use a Relative Origin based on other Components already in the correct place. You then use an As-Built Joint to

connect the Components together. You should NOT need to use the Align function using either of these methods.


You didn't need to use the Offset Faces command, you could have simply used the Extrude command in two

directions. Also remember that Extrude not only creates something, it can also Cut, so you could have done that

instead of all of the Splitting and removing.


I will post this so that you can read it and quickly put together something closer to what you actually need here.


Cheers


Andrew

0 Likes
Message 3 of 12

davebYYPCU
Consultant
Consultant
Accepted solution

See if this helps, Timeline order of operations helps, happy to answer questions.

Symmetry, and simple sketches, make Fusion do the hard work.

(add more work before the mirrors)


frmdb1.PNG


Might help...

0 Likes
Message 4 of 12

evanp4509U4JZ
Collaborator
Collaborator

A couple things that might help you out:

In "extrude" there is the option of "thin extrude". It is the selection on the far right, top row. This will bring up a menu for inside, outside, center and wall thickness. This will save you al the offset faces.

Fusion hates near coinsidences. This is when things are "almost exactly even". If you are using something to cut something else have a clear overlap by the part used to cut everywhere. A 2" holesaw actually notches steel tube at about 2.050" so that will get you a more true to life product and avoid the near coinsident problems in cutting with the software.

3D sketches allow "pipe" to make compound bends or you can make construction planes to allow the same thing with multiple pieces joined to gether. This allows you to make all sketch fillets the centerline diameter of your bender dies netting accurate depictions of the finished product.


If you do a lot of this, BendTech software does this pretty nicely and you can get a bunch of part templates, bumpers, rollcages, body armor, etc..

0 Likes
Message 5 of 12

daveGHHGW
Participant
Participant

Brilliant! Can I somehow display the steps you did to make the sketch?


I see you using Bodies as opposed to Components, as Drewpan suggested. Pros/cons?


It seemed to me that using the Pipe as opposed to Extruding each part was what Pipe was there for. Am I wrong?

0 Likes
Message 6 of 12

daveGHHGW
Participant
Participant

Brilliant! Can I somehow display the steps you did to make the sketch? It appears you probably created the circles and then placed construction lines Horizontally from them and connected them point-to-point (form the slanted side) and then created construction lines offset 1/2 inch. Then you extrude a square to make the tubes. This is the part that confuses me. It seems that doing the Extrude thing means you have to keep creating profiles and planes for those profiles, but I don’t see that. Where is the 1 inch square you extruded from?


I see you using Bodies as opposed to Components, as Drewpan suggested. Pros/cons?


It seemed to me that using the Pipe as opposed to Extruding each part was what Pipe was there for. Am I wrong?

0 Likes
Message 7 of 12

Drewpan
Advisor
Advisor

Hi,


@davebYYPCUYou beat me to it - Again!


The way Dave has created this project using bodies is fine if all you want to do is create a simple model. If you

actually want to draw up proper engineering drawings and do testing, like a static stress analysis then you will need

to convert those bodies into Components and join them together with As Built joints. Fusion will actually

automagically create Component and Assembly drawings for fabrication on the shop floor.


Right now those bodies are just floating in space and are not connected together in any way unless Dave had

Grouped them. Grouped bodies are not Joined there is a difference. A Joint can be used to create simple rigid joints

or complex sliding or rotating joints, even ball joints. If you were designing a complex machine with moving parts

then you would use components and joints. If you wanted to insert your bulkhead then you would have to convert it

to components first.


Cheers


Andrew

0 Likes
Message 8 of 12

davebYYPCU
Consultant
Consultant

Sketch 1, taken from your mud map mostly.  You have to position the 2 circles correctly.  You have dimensioned to the quadrant positions.  So circle, 2 internal construction lines. These end points are used for horizontal constraints to the centre lines, and width dimensions are overall.


Yes construction centre lines, offset (chain) by half tube.  

Component v Bodies.  Personal preference guided by my experience, and more importantly, what you want out of Fusion from the hard work being done in the software.  Each file is a component.  For demo purpose, this file will be a one piece completed assembly, with no moving parts.  If it is the Master File, then yes, make a firewall component, and do all this work in that Component.  Rule #1.

Back to the frame - Extrude needs a profile, it’s there, the 3 black lines are for the Thin Extrude.  Solid 1 x 1 inside the lines one piece frame half.  (I like to avoid doing things twice)  Timeline order is important, now a Shell is done, for wall thickness, I guessed but you can edit that, Edit Feature and change the value if mine is wrong.


Split Body to 3 pieces, by selecting the inside face of the inclined tube.  
Not sure of my steps now but the corner tube cuts are done to carry the round pipes, and clean away the top corner offcut.

Combine - Join the separated bits to each member.


Why not Pipe?  (It is a restrictive Sweep, but simplified, for some applications, but)

Two reasons for this file, you wanted a Sheetmetal plate, and pipes use centre lines, length and depth, (too complicated, and in your case not what was expected.). Sketch 1 gives me the plate shape and the frame members in alignment.


Sketch 2 give me alignment again, details for the 3/4 upright. (Tube - not sure). You will have to make edits for the stuff I don’t know.  Main thing was to pattern the holes, not draw them all.  Speaking of holes, the set in the inclined upright, does not work in my model, so stopped there.  Same for the horizontal internal member, not enough detail to make that yet.


Might help….


0 Likes
Message 9 of 12

davebYYPCU
Consultant
Consultant

Right now those bodies are just floating in space and are not connected together


Nope.  Top level file (single component) can't' move, - no joints - no Pin to Parent - super simple.

Depends on what you need out of Fusion as to how to structure a file, seems to me the OP is struggling with the Pipe limitations, and when not to use it.


@daveGHHGW  Some mistakes found and fixed, added the horizontal rail.  Compare the two files to show how the timeline can be versatile.


Might help...

0 Likes
Message 10 of 12

daveGHHGW
Participant
Participant

Really appreciate the replies. Let me get back to Pipe. Is there a reason Not to use Pipe? I ask because although daveYYPCU’s solution works, it doesn’t seem very universal. The next frame station, instead of being boxed in by four square tubes, has square tubes on the top and sides, but round across the floor. The one after that all rounds, but will require to follow the sweep of the dash-bulkhead-roll hoop, etc, etc. This picture is the main roll hoop plane. Do I need to extrude cross-sections or can I use the Pipe? I should/must make them Components? Does Split-Body split Components also?

I’m trying to get an understanding of how Fusion wants me to make a frame or if that isn’t really Fusion’s thing. Fusion seems to like prismatic solids.

Here’s my first Fusion project. It’s a starter nose for the same racecar. I CNC’d a model on my 3D router to check the fit.

What is unique about it is that the motor itself is offset from where you’d think the centerline of the starter is. That’s because it’s to put a Japanese starter on a British car.


0 Likes
Message 11 of 12

davebYYPCU
Consultant
Consultant

Use Pipe by all means, no problem, if you can use cylindrical and or square profiles, solid or hollow, all very convenient, when the end faces are square to the centre line.


In your case not much is square to the centre lines of the pipe.  This is where Pipe falls short, will not mitre joints.  Centre lines have to be extended, past intersections, for them to be as required.  Then have to be cut / trimmed, to fit. Next Pipes use of centre lines for depth, also became inconvenient when alignments are not using centre lines.


Therefore, extrude to object is far more convenient.  When the centre line is bent or curved, Sweep and Pipe, both do not like oblique end face terminations.


I don’t understand the 2nd pic relevance, yes Fusion is good for those parts, but needs specialised handling of pipes in this style chassis, as you are finding out.


Split body - works on bodies, in a Component.


Might help…

0 Likes
Message 12 of 12

daveGHHGW
Participant
Participant

Yes, I started to experiment with when various techniques work and when they fail:

Doing a Split-Body on two equal round pipes fails to actually create separate bodies.

Split-Body of unequal Pipes does a beautiful fish-mouth joint.

Square Pipe to Square Pipe af any size combination fails.

Square intersecting a larger round pipe works. Cuts nice curves for the joint.


I’m going to keep experimenting with Extrusions instead of Pipes. I’m suspicious Fusion didn’t think this was a needed functionality so they didn’t put any resources into it. Glad I’m finding it before I bought a subscription.

0 Likes