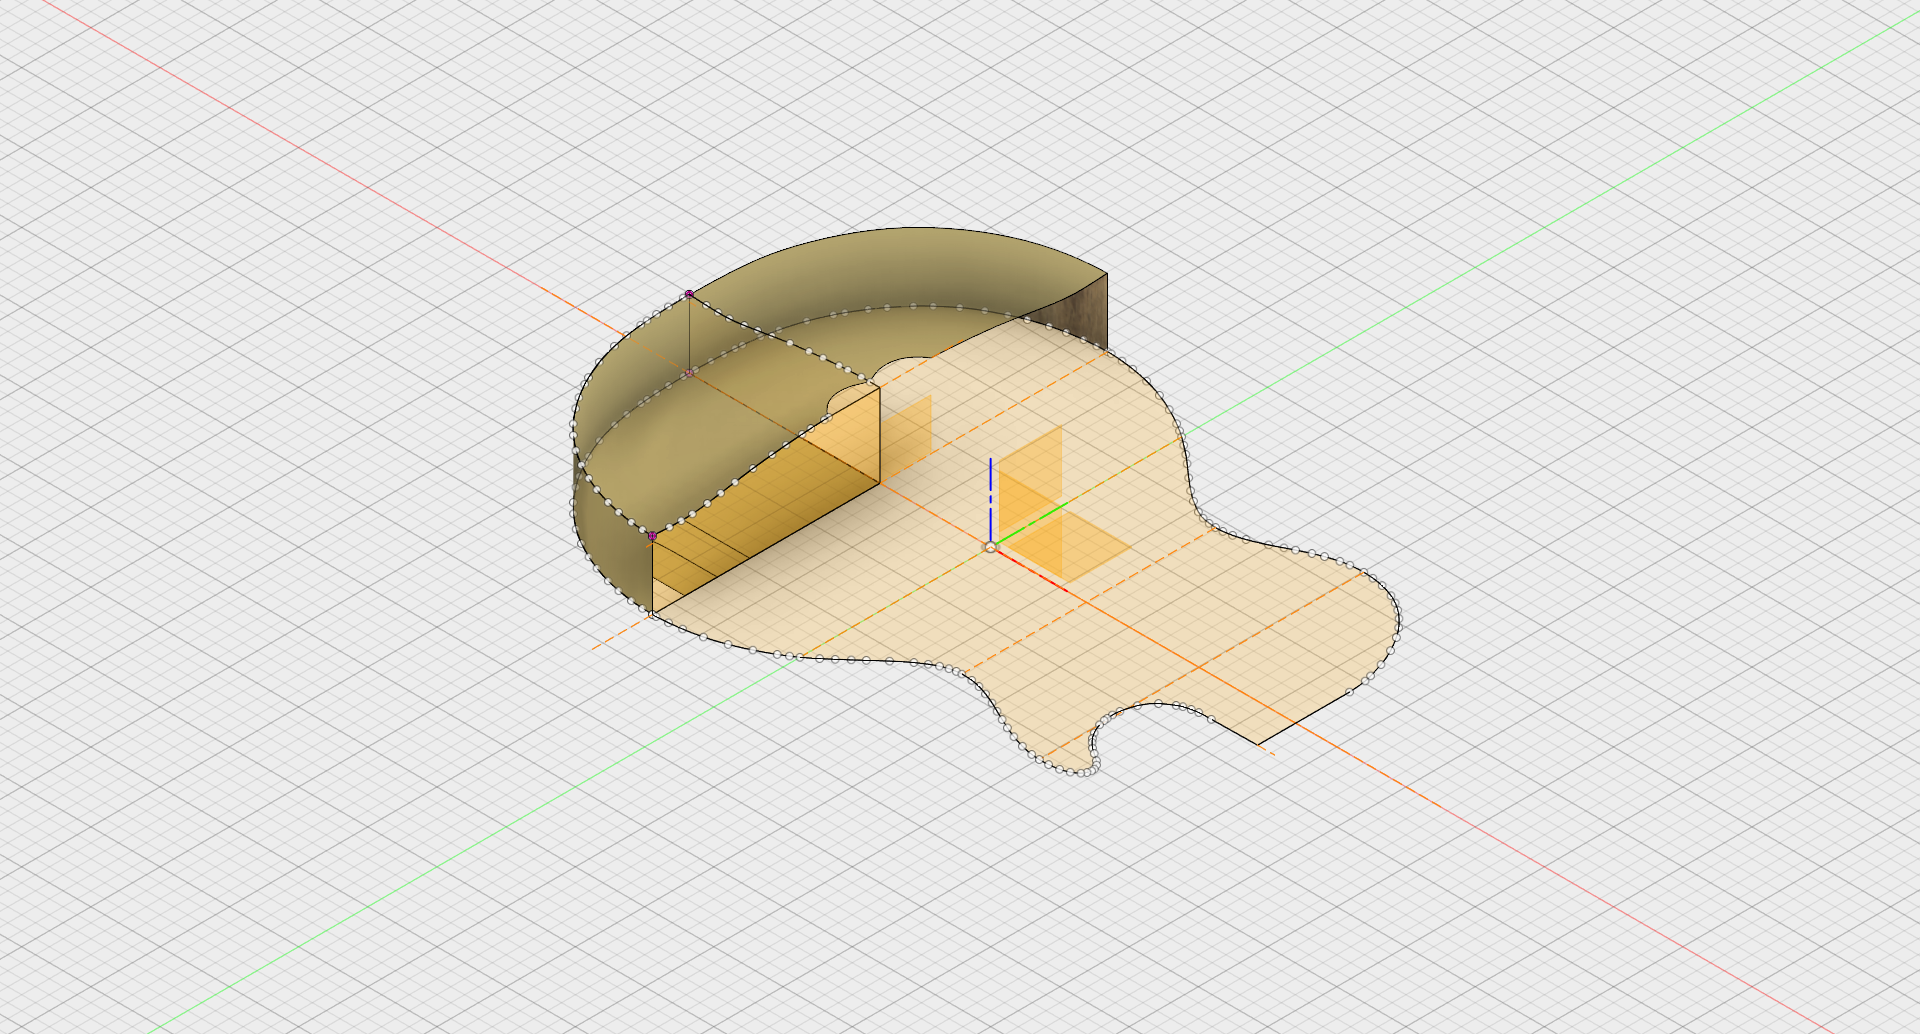
I do alot of woodworking with my CNC at home and have used different software to create 3D models of a Les Paul type guitar arched top.
I am having a hell of a time making a complex curve outlines shape that also has complex curved top surface.
I have no problem sketching the shape of the body and extruding a shape to the complex outline. The problem is getting the arched top portion. Any tutorials that may help me figure this out?
Thanks
Solved! Go to Solution.
ooh, great topic. I've built a few guitars, and have fantasized about having a CNC machine (ShopBot or something) to make it easier and repeatable.
Here's how I would go about it (just a quick, simple approach, so I am no doubt missing some details):
Start with a sketch and add an attached Canvas to it:
Then, trace around the body outline (apologize for the messy tracing here, I was in a hurry, and just did it with one spline):
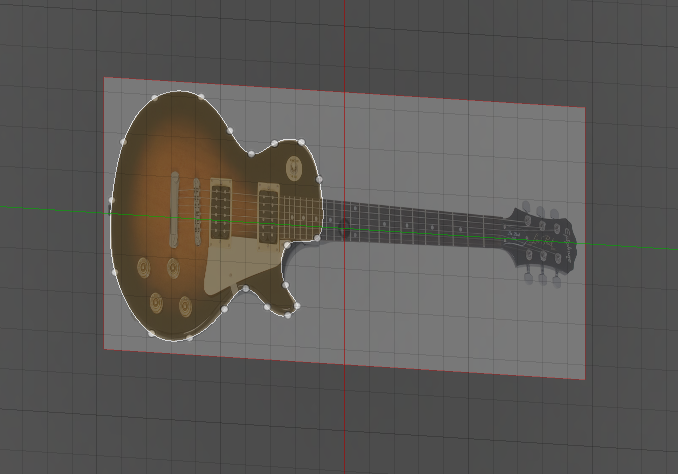
Then, extrude it, but make it bigger than you need:
(I applied mahogany to it, just for authenticity...)
Next, create a workplane somewhere in the middle of your body (about where you want the outside edge thickness to be), then a Form feature. Once in the Sculpt environment, create a plane, and give it about this many divisions:
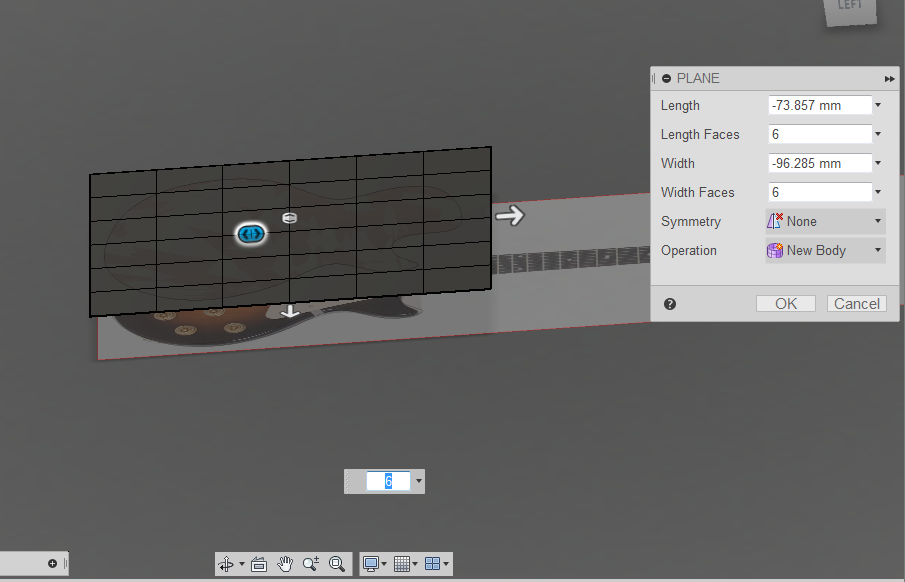
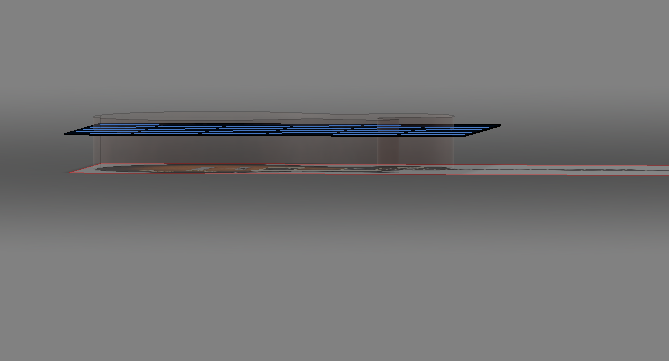
side view, showing the placement of the Plane:
Then, use Edit Form. Select a few faces in the middle of your plane, and pull them up near the top of where you want your arch to be. You can play with Soft modification here, and also use symmetry if you want. In this case, I did neither:
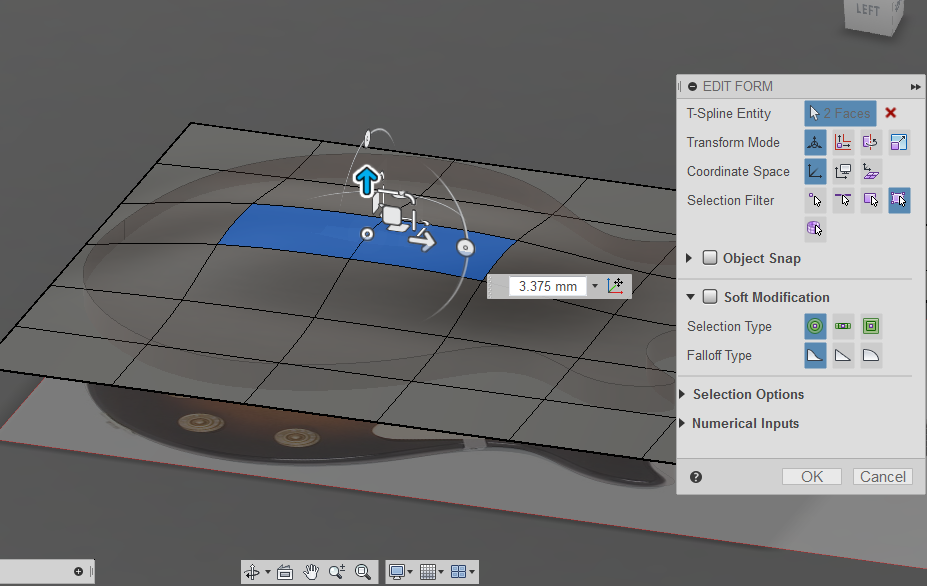
exit the Form feature, and you are left with a surface body that describes your arch. Use Split Body to split your extruded body, using this surface:
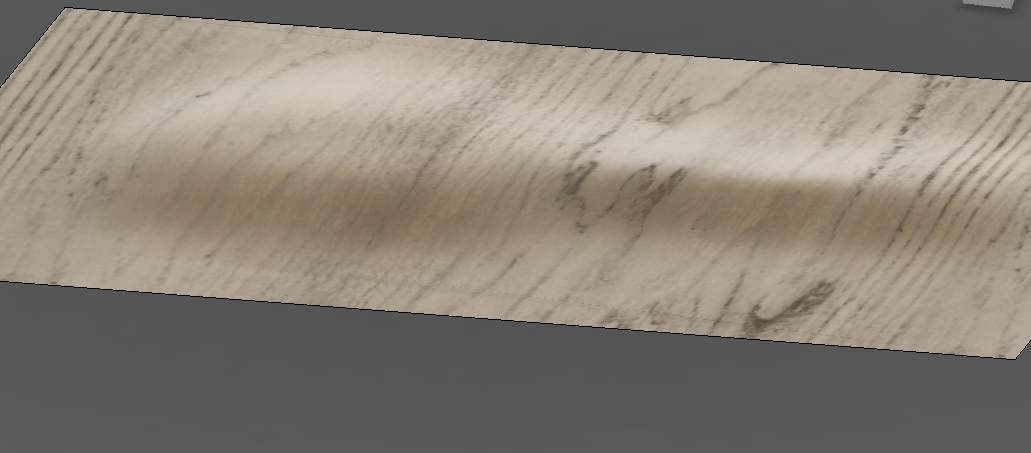
Then, delete or just hide your splitting surface and the top portion of the body, and you are left with this:
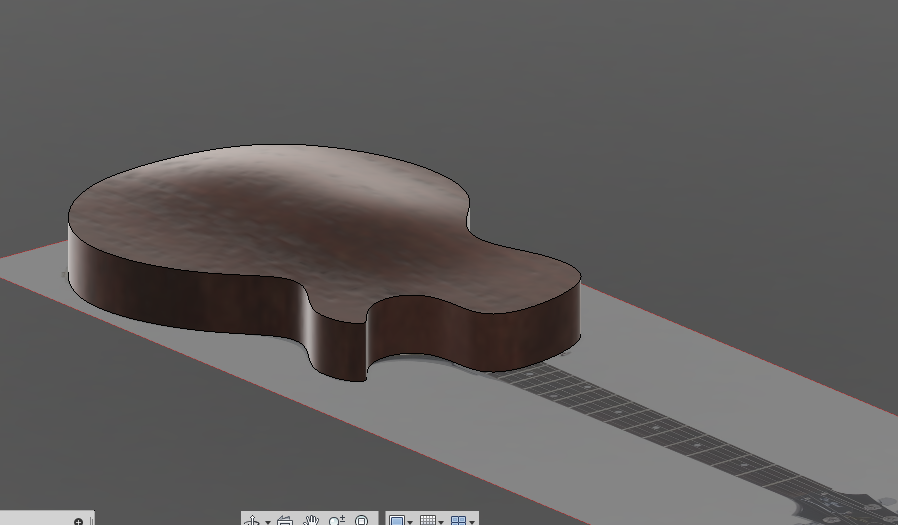
My arch here is pretty subtle. But, hopefully you can get the idea.
Good luck with your project. Post pictures, in-progress, and at the end, if you can!
Jeff Strater (Fusion development)
Still having trouble, but it isnt a program issue, its more of a user error/lack of skill. I can reproduce relatively easily what you have shown, its the fine tuning where I completely mess up the model.
Is there a way to do take a flat 2-D contour map drawing to make a curved surface? Or a way to implement the desired contours to a mesh that can be raised?
Link to my file so far.
The top curved piece for the guitar is approximatley 15.5 mm. The outer perimeter and first contour are at 5 mm thick, each contour beyond that is an approxiame 1.75 mm raise.
Thanks for any input advice. I really want to be able to get this software down. I am purely a hobbyist, and this is the first affordable software that can potentially do everything I want.
This first vid definitely shows there's several ways to pursue this, perhaps using a technique in the helpful second vid?
OK, I'm gonna have to think about this a bit. This is definitely a challenge, and is a bit advanced. But, it's interesting, and a bit frustrating to try to figure out.
My workflow above works if you are willing to "eyeball" the sculpted top. If I were doing this, I would be tempted to stick to that approach. I would just use the contours to help the eyballing process. But, that's not what you asked...
A couple of things about your model so far. There is one problem with it. Your base sketch is in a warning state:
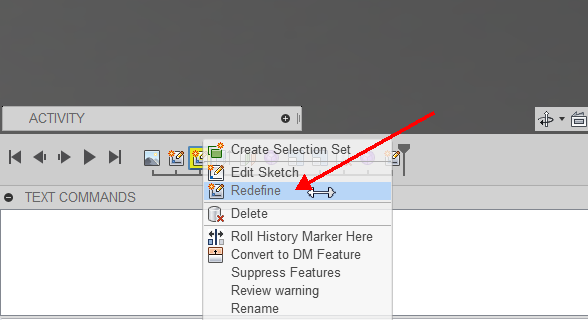
I was able to fix this by "redefining" that sketch:
And choosing the XY plane. That seemed to make everything better. Not sure what went wrong before.
Second, I would recommend that you put each of your profiles in a separate sketch, each on an offset workplane, and I would recommend that you put the sketch outside of the Sculpt environment, so the whole thing can be controlled parametrically (you can change the offset of the planes by editing the workplanes). For example, here is my version of this. Each profile is on a separate offset workplane:
from the side:
I would also recommend using fewer contours, it will make your life easier.
OK, I will post two more posts, one showing how to use the sketch curves to just help the "eyeballing" process, and one using them directly in the geometry. It may take me a bit, so don't hold your breath ...
Jeff
OK, the "eyeball" method.
Once you have your contour sketches set up:
create a Form feature, and create a Plane, bigger than the body. I did not make my plane dense enough, I would have added more divisions. This makes it more laborious to edit, but also more accurate:
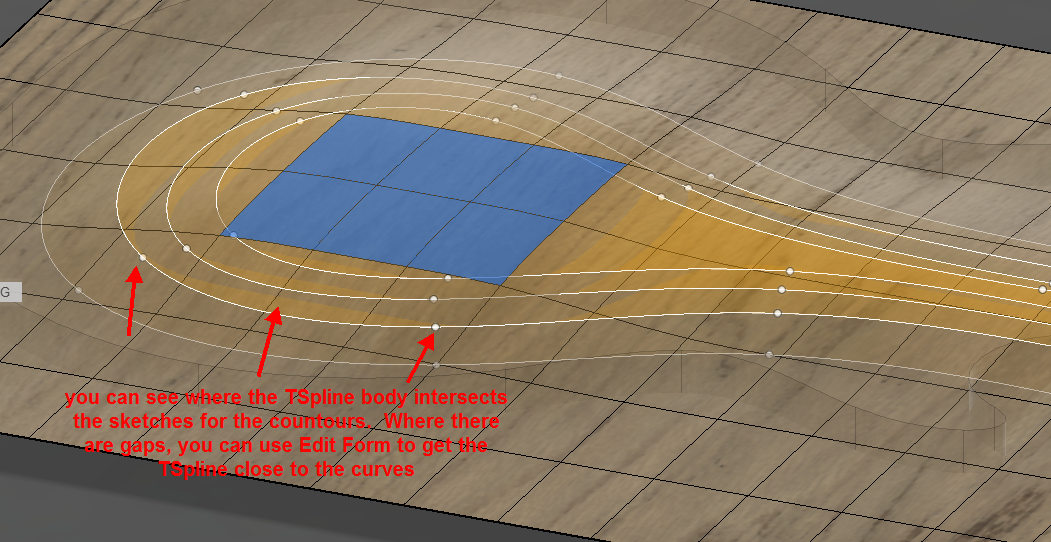
Now, use Edit Form to tweak the TSpline body, and use the graphics intersection to help you determine when you are close to your contours:
This is the labor-intensive part. But, it only took me about 5-10 minutes to get close. With more divisions, it will take longer, but the result will be better. You may be able to use symmetry to help, if your arch is symmetric:
This is the resulting body when you exit the Form Feature:
The rest is the same as above. Split body using this surface. Here is the result:
The model is attached, for your information.
I have a model with the "precise" modeling working, but I don't like it. Off to the gym to think about it some more while on the treadmill...
Jeff
Nothing like thinking while running (or running while thinking?) 😉
Thanks for those tips, it definately is helping me get closer to the desired shape. Is there a way to lock some of the individual squares? When I am trying to fin tune, it is occaisionally pulling an edge of some of the surfaces above the point I want them to stay.
Thanks again, big help so far.
Thanks for those tips, it definately is helping me get closer to the desired shape. Is there a way to lock some of the individual squares? When I am trying to fin tune, it is occaisionally pulling an edge of some of the surfaces above the point I want them to stay.
Thanks again, big help so far.
unfortunately, no, there is no way to lock vertices in a TSpline right now. I have seen a demo of a prototype to do that, but it's not in the product yet.
It can be frustrating to tweak the vertices to get them in exactly the right position, I know.
Jeff
unfortunately, no, there is no way to lock vertices in a TSpline right now. I have seen a demo of a prototype to do that, but it's not in the product yet.
It can be frustrating to tweak the vertices to get them in exactly the right position, I know.
Jeff
OK, here's a way to do it more precisely. It was a bit "fiddly" to get it to work, unfortunately.
What you need is a loft through your contours. However, loft won't get you the shape you need today, by itself. This is the hard part.
Here is what I did. Similar setup as for the "eyeball" workflow, except you need one more sketch, that extends outside of the solid body:
next, in the Patch workspace, create the loft: Turn chain selection off:
This is the result, which shows why loft alone is not enough. You need to fill this hole. The tool for this is the Boundary Patch tool. This is where it gets tricky. You have to select the surface edge in order to get the tangency needed to make the patch "bubble outward" correctly. However, you need a closed region, so you have to:
1. select the surface edge first, with chaining off
2. turn on tangency condition
3. turn on the sketch
4 select the line to close the patch
it's ugly, but it gets you the shape that you need:
Now, you have to stitch the two surface bodies together to use in split. Patch is notoriously "noisy", so you have to set a pretty large tolerance:
Then, you have a surface body that you can use to split the solid. You have to select the splitting tool in the browser, to tell Split Body to use the whole body as a tool:
This will get you:
As I say, it's not pretty. I would just use TSplines. The downside of that is that it is not parametric (meaning you cannot edit the sketch and have everything update. This precise method is fully associative.
Good luck!
Jeff
Thank you again for the help. I am working with the t-splines and trying it that way, but lots of nodes to edit.
When I get tired of moving nodes, I have tried working with Lofts and Rails, which I have used in the older Alibre (now Geomagic software). Does this require 2 rails? Or if two sketches share a contact point, will one outer rail work? I am having trouble getting the loft to work like I am used to it working.
yeah, that should work, I agree. You should be able to select two of those curves as profiles, and the third as a rail. I'm not sure why that does not work, but I will investigate.
Jeff
yeah, that should work, I agree. You should be able to select two of those curves as profiles, and the third as a rail. I'm not sure why that does not work, but I will investigate.
Jeff
I did find a small error in the sketches, one of the vertical legs on one plane measured 60 mm and the other plane was 58 or 59 mm. I fixed it so that both are 60 mm but still could not get the loft to work. For whatever reason I have a very hard time getting Fusion to select the guide line as the rail, Fusion often wants to tag it as a profile and not a rail. Is there a secret to specifying/selecting what is a rail and a profile?
Alright, I found a few other errors in the sketches. My rail that I copied from the base sketch to the upper plane, for whatever reason doesnt line up with the profiles. I had to resketch the rail using the copied spline as a guidline to verify rails touched the profile. I got it to finally create the loft, with some odd surfaces made on the bottom and top that i deleted. If you download and look at it, you will see where parts of teh surface was deleted. I think the loft works better for getting a consistant smooth arch top like that.
Thanks for the screenshot, so far looks like it will be an awesome guitar! If you can get everything working with the modeling.
Jesse
Thanks for the screenshot, so far looks like it will be an awesome guitar! If you can get everything working with the modeling.
Jesse
Nice progress! You seem to be learning fast.
I see the issues you are referring to here:
So, I have a couple of comments:
1. If you are going to use Loft (and I agree that it makes sense to use it here), I would stay away from TSpline Loft, and do this as a Patch (surface) Loft, unless you plan to do a lot of modification of the Loft after creating it.
2. That might be what is causing the problems in the bottom surface. TSplines are a bit difficult to do this kind of thing with.
3. The gaps at the top, I think, are caused by the fact that your sketch has multiple lines in it, and you didn't get them all selected. I ran into the same thing looking at this before
Here is how I would do it using Surface Loft: http://autode.sk/1GMV9YO
I had to modify your sketches a bit to make everything that I did not want to use in the loft be "construction", which helped a lot. However, I still had Loft problems that I don't understand. I had to turn off chain selection and merging to get it to work, this seems wrong to me. But, I got a decent result:
Jeff
Just when I think I got things figured out, I am proven worng. I still am having a hard time with these complex surfaces using loft. No matter how careful I am, using section views to project lines to the section cut, I have a hard time getting the rails to touch the profiles I create. I spend more time trying to edit rails, resdraw rails, delete everything and start over, just to do it all over again and again.
Do you have any tips for how to create the rails, profiles and guide lines on all three diiferent planes are giving me headaches.
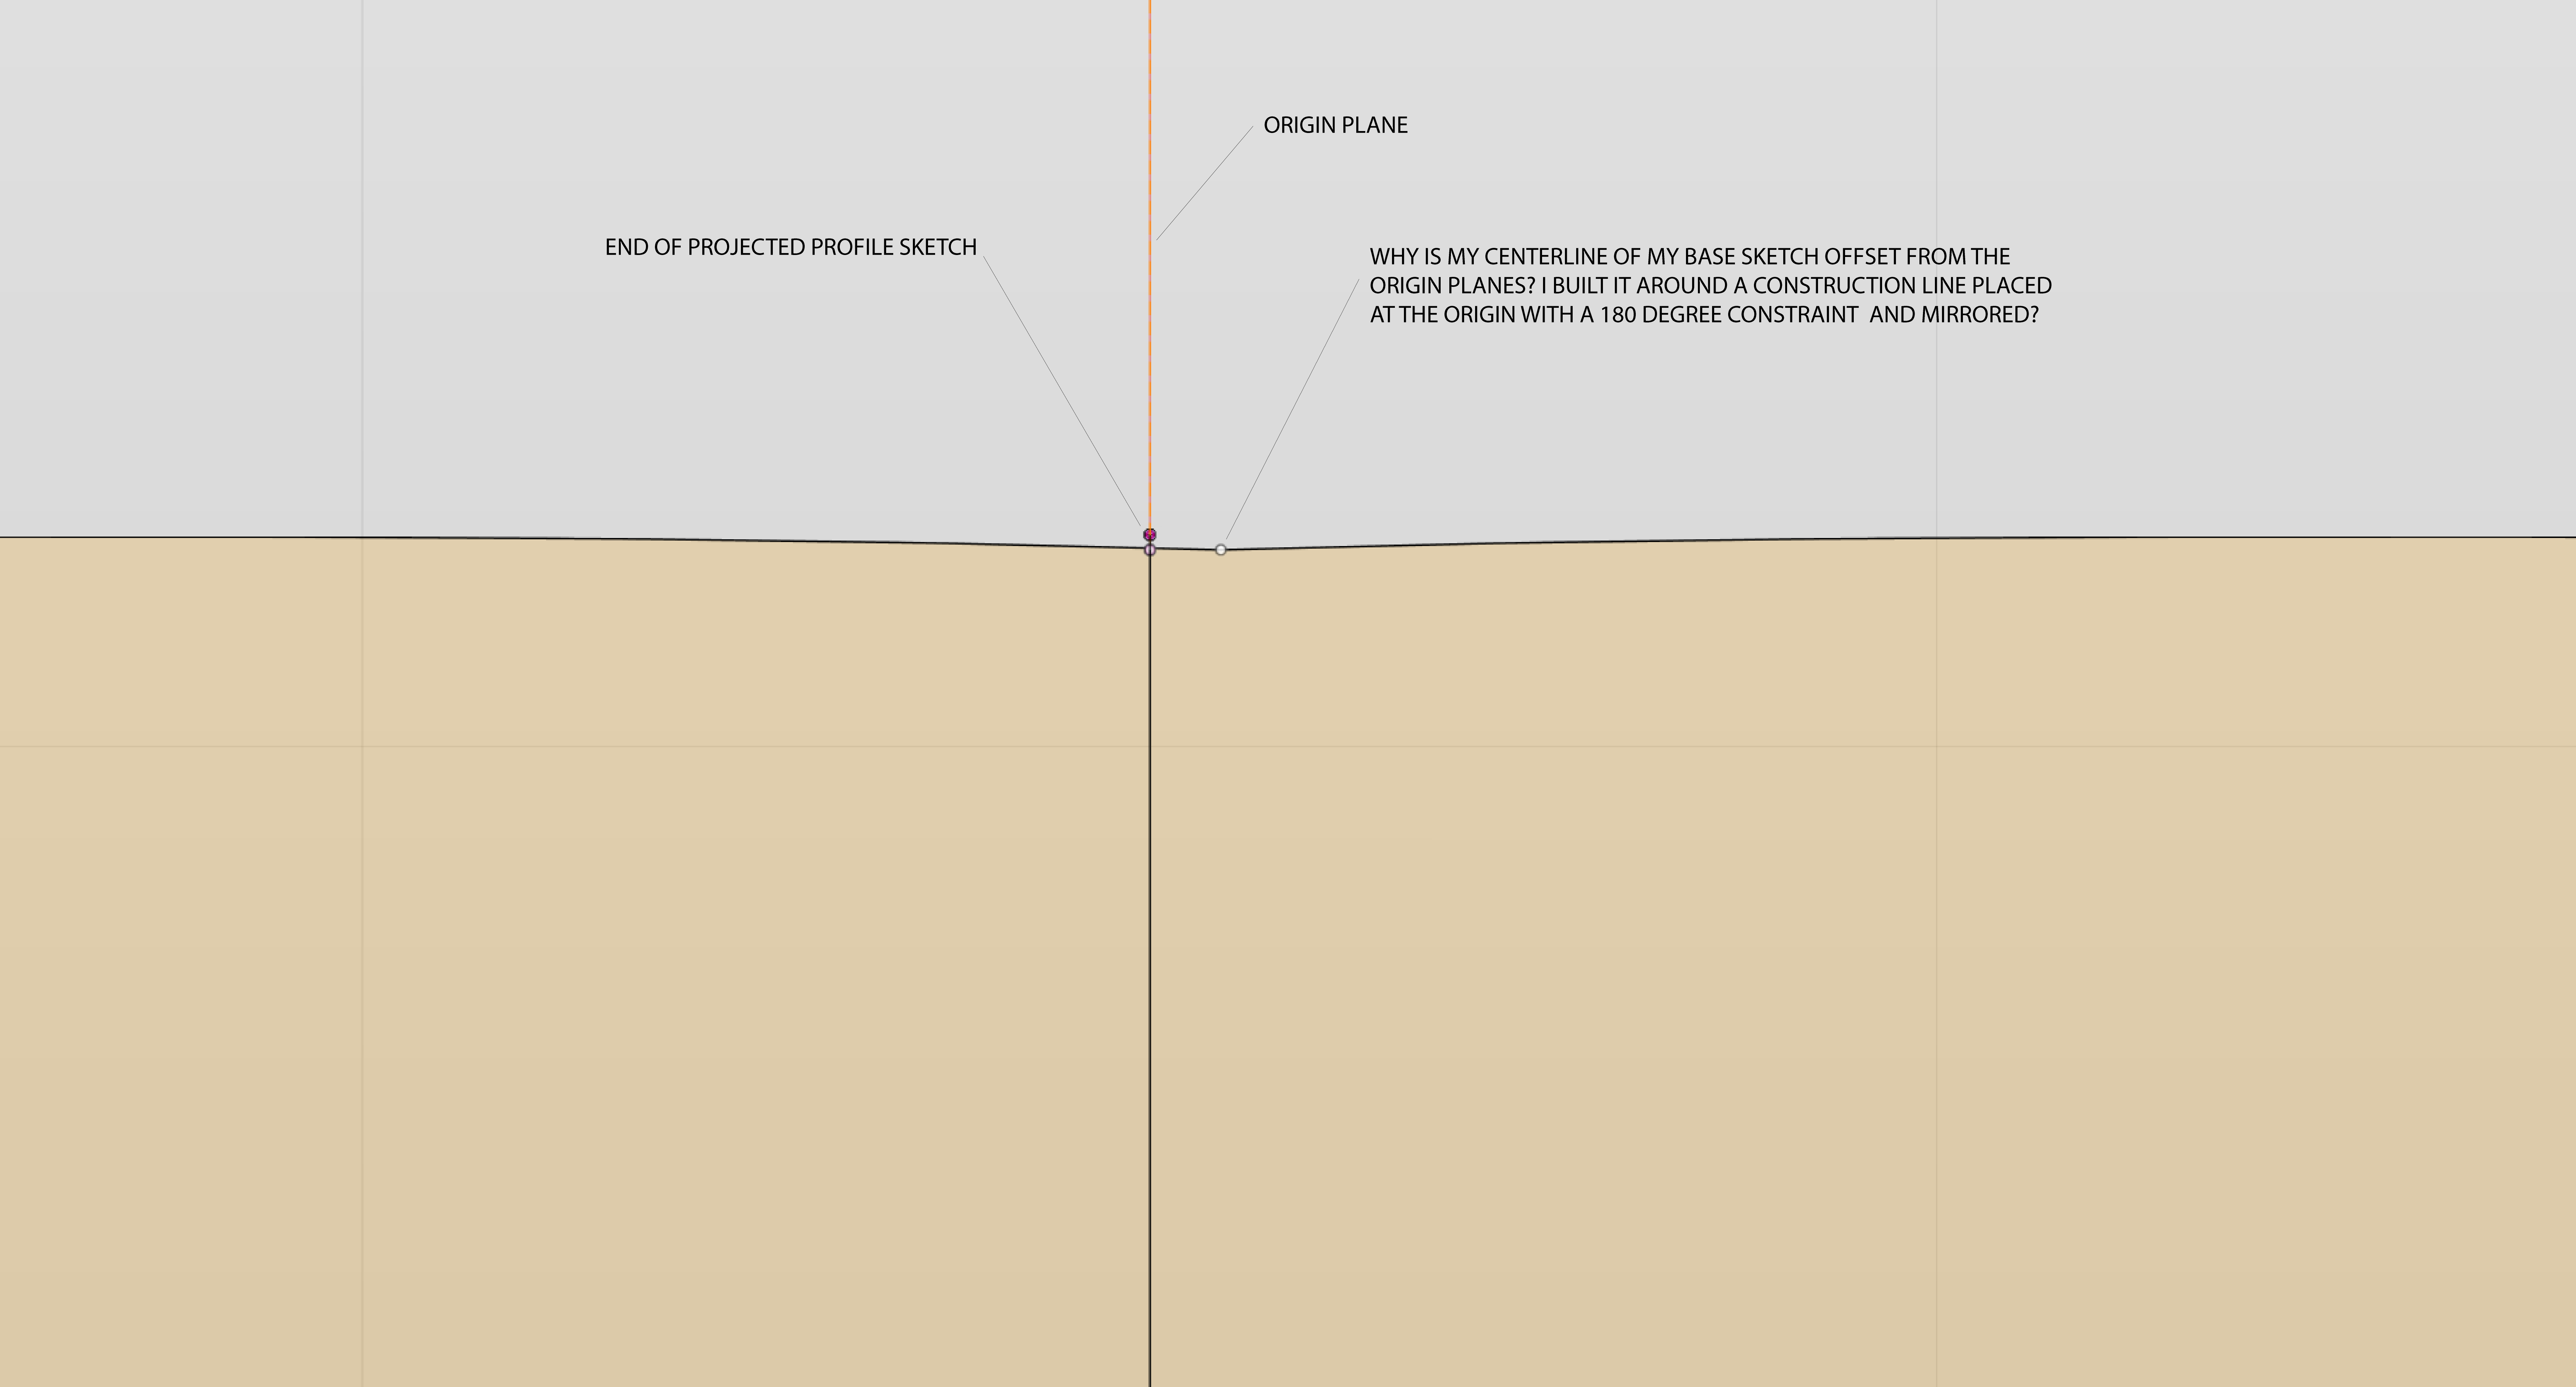
I have tried making my different contours on different height planes, then creating bodies into one stepped body. I then use the section view analysis to create the curved profiles. I have tried using my base sketch as the rail, thinking that sice the profiles are cut from the base sketch extrusion, things should line up......nope. I have found a small problem with the base sketch on the left hand side, the centerline isnt truly the part of the sketch that is the furthest point on the sketch, so the cross section projection is off. I will have to edit that and see if it helps with the rails.
I just feel that my mindset/workflow is off, so many steps to get to the point I want to get to. Revision 8000 or so below.
Hey there, I'm making a guide tutorial for you, so hold on a sec.
Drats, lost all my screenshots, hold on a sec again.
Can't find what you're looking for? Ask the community or share your knowledge.