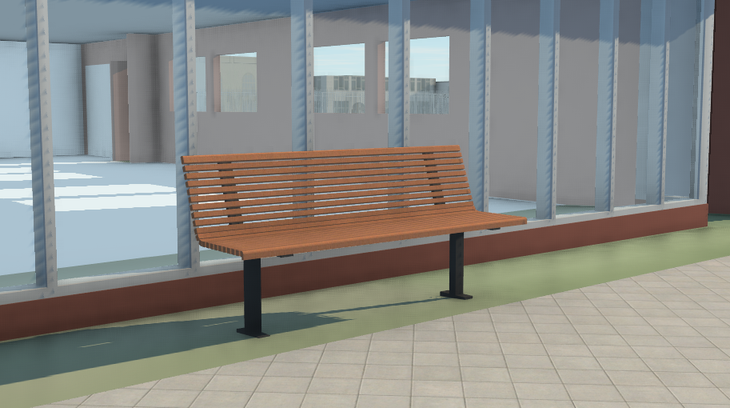
Have you ever been working in InfraWorks and wanted to add city furniture, but couldn't seem to find what you wanted? I may have a solution for you. Fbx files can be difficult to summon from internet sources, and creating a custom fbx can be time-consuming. Luckily, there's another solution: Exporting Revit families (rfa) to fbx to import into InfraWorks. Revit families are quite expansive so let's put them to good use in the civil world too!
Although I am not a Revit user, our friendly resident architect was more than happy to assist me with the workflow and knowledge gaps. Revit family files are typically abundant in company libraries, Revit's imperial library, third-party websites, or relatively easy to create or modify. We used a rfa file within our Revit family libraries for this example. The first step is to open the rfa in Revit, within the Main Menu select Open ► Family. Refer to the images below.


Once you open the rfa file, you can edit and modify it as necessary before exporting. Exporting the rfa to fbx is relatively straightforward. From the Main Menu select Export ► Fbx, then choose the location and save the new file. Refer to the images below (Note: We did not change any of the default settings, which were 2015 fbx and previous).


Now to start InfraWorks and begin the fun part, creating new City Furniture. Once InfraWorks is open and you have successfully opened your project to add the new City Furniture, launch the Style Palette and navigate to the 3D Model tab on the left. Once you have the 3D Model tab highlighted, select the City Furniture folder and open it. Refer to the image below.

To create a new City Furniture entity, a new style will need to be created. Click on the icon with the Style Editing at the bottom of the Style Palette to Add a New Style, as shown in the image below.

The Define New 3D Model dialog box will appear. In this dialog window you can select the fbx file that was exported from Revit by clicking the icon next to the Model URL line. Refer to the image on the left below. A file explorer window will open where the fbx file can be selected. Refer to the image on the right below. After the fbx file has loaded, the Translation, Rotation, and Scaling can be adjusted accordingly within the Define New 3D Model dialog box.


Upon clicking OK within the Define New 3D Model dialog, the window will close, and the program will prompt you to name the new style. Refer to the image below. I named my new style "Park Bench."
Note: Remember to name the new style so it can easily be searched and found within the City Furniture.


Position the new City Furniture entity within your drawing. Do not worry if the scaling seems a little off, whether too small or too large, the style can always be edited. When the style is edited instead of the entity, it carries through the entire drawing. To edit the style, navigate to the Style Palette ► 3D Model ► City Furniture, select the new style just created and click the icon within Style Editing at the bottom of the Style Palette. The Configure 3D Model / City Furniture dialog window will appear where the Translation / Rotation / Scaling can be modified.

You must be a registered user to add a comment. If you've already registered, sign in. Otherwise, register and sign in.


