@Anonymous wrote:
Ah the internet, a source for bad info for too many years
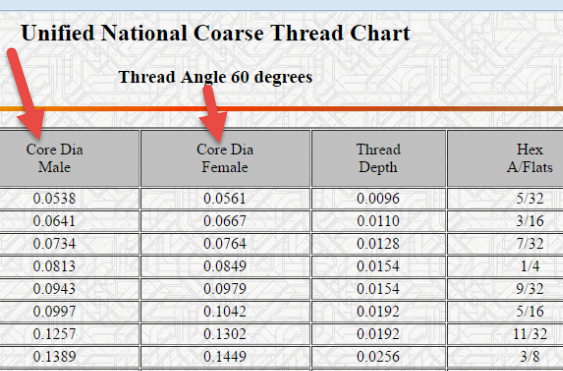
Quote "and the minor for a .5-13 UNC-3b would be .500." If you are saying the minor diameter of 1/2-13 3B thread is .500 then you are sadly very wrong, Minor diameter for 1/2-13 3B is 0.4500 - 0.4548
Yeah well, about the bad info part ....
1/2-13-UNC-3B
Minor dia: .4170-.4284
Major dia: .500-.5159
Pitch: .4500-.4548
And as far as the topic is concerned, the reason for knowing the minor diameter of an internal thread ( or for that matter the major diameter
of an external thd ) is not necessarily important in the design phase, but it sure is important for the poor schmuck
who will actually machine the part.
It is very nice to have threaded features ( internal or external ) to represent the median dimension on the model and consequently on the
blueprint.
So, as a suggestion, this is what I do here ( disclaimer: I am the schmuck )
In Inventor -> Tools -> Document Settings -> Modeling -> Tapped hole diameter = Tap drill
Then, in the Thread.XLS file, I've edited the Tap Drill field to a formula:
(Minor Max - Minor Min) / 2 + Minor Min
This way the hole for any and all internal threads will be modeled and drawn to middle of the tolerance band.


