Community
- Forums Home
- >
- 3ds Max Community
- >
- Animation and Rigging forum
- >
- add one bone's vertices to the second bone
3ds Max Animation and Rigging
Welcome to Autodesk’s 3ds Max Forums. Share your knowledge, ask questions, and explore popular 3ds Max animation topics.
Turn on suggestions
Auto-suggest helps you quickly narrow down your search results by suggesting possible matches as you type.
Reply
Topic Options
- Subscribe to RSS Feed
- Mark Topic as New
- Mark Topic as Read
- Float this Topic for Current User
- Bookmark
- Subscribe
- Printer Friendly Page
Message 1 of 9
07-20-2016
08:26 AM
- Mark as New
- Bookmark
- Subscribe
- Mute
- Subscribe to RSS Feed
- Permalink
- Report
07-20-2016
08:26 AM
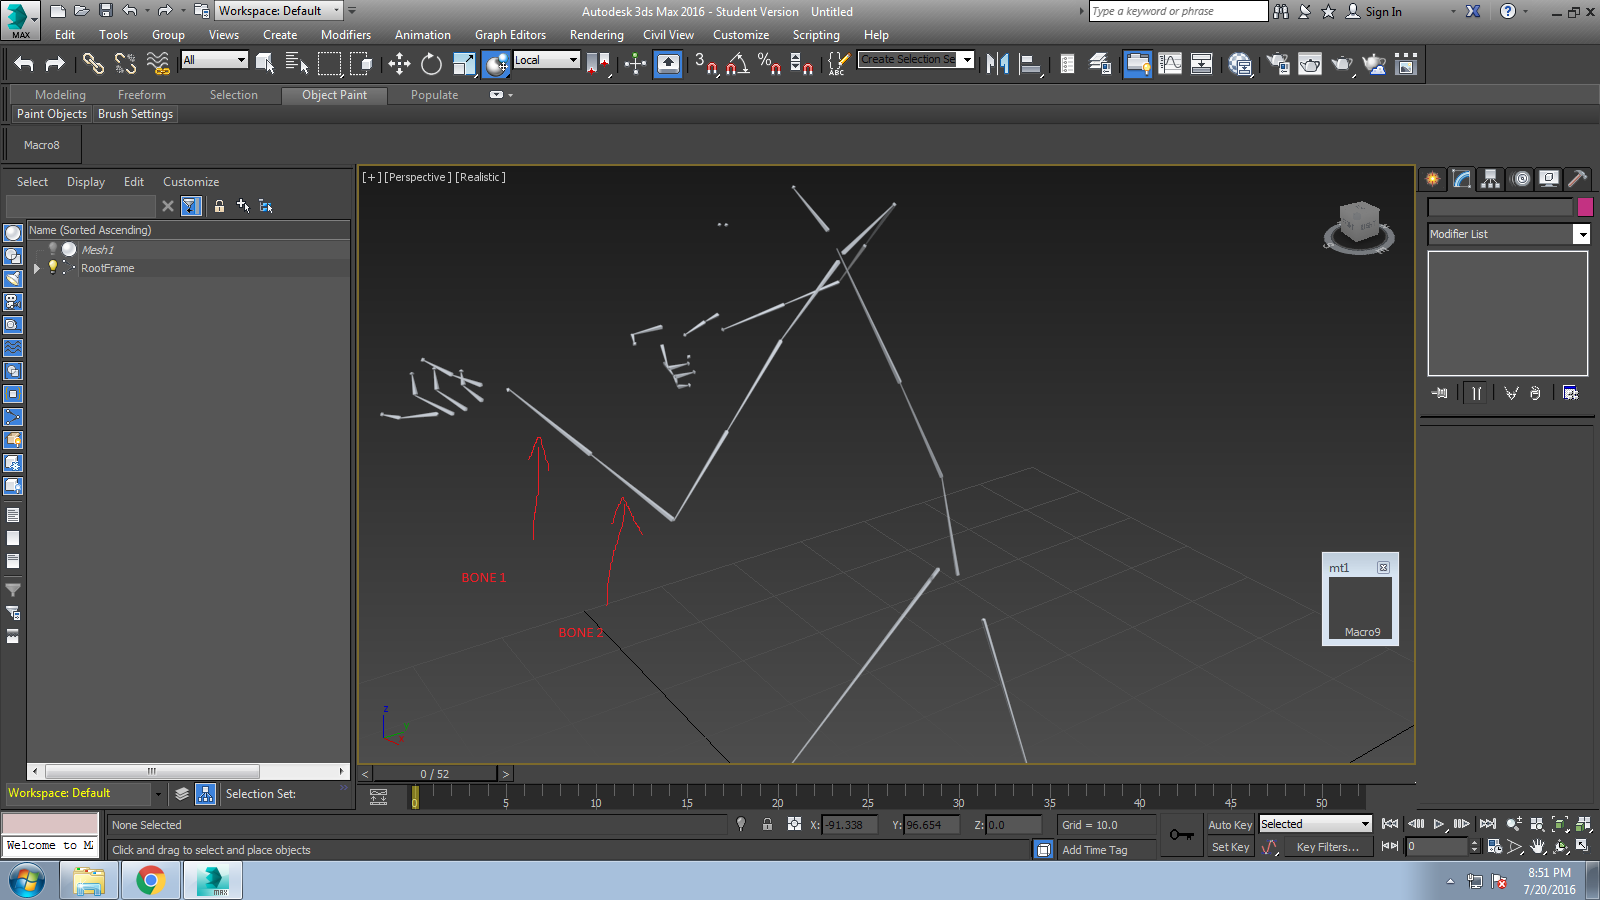
I have a model (already rigged and animated) which have very large number of bones . I want to use it in an android game so i thought i should lower the number of bones to increase performance . The model have 2 bones in its forearm , i want to assign the vertices of first bone to second bone and then delete the first one , but i cant find a way. Help me please. (I'm planning to do the same with spine bones)
Solved! Go to Solution.
Solved by ads_royje. Go to Solution.
8 REPLIES 8
Message 2 of 9
07-20-2016
08:42 AM
- Mark as New
- Bookmark
- Subscribe
- Mute
- Subscribe to RSS Feed
- Permalink
- Report
07-20-2016
08:42 AM
Hello!
Have you tried Skin Utilities ?
It's located in the Tools panel, you may have to add it from the More button at the top.
When you use it, it'll extract the skin weights on mesh in your scene.
Once that is done, select your skinned mesh and that new mesh containing the skin weights.
You'll get a mapping table, from which you can re-assign incoming weight to another bone.
So for instance, if you have 2 arm bones, on the skin utils weight table, you can send the 2 bones weights to a single one.
Hope that can help! 🙂
Jean-Thierry Roy
Quality Assurance Analyst
Report a problem in 3ds Max | Certified Hardware | How to Change Display driver | Troubleshooting
Message 3 of 9
07-21-2016
01:56 AM
- Mark as New
- Bookmark
- Subscribe
- Mute
- Subscribe to RSS Feed
- Permalink
- Report
Message 4 of 9
07-21-2016
05:17 AM
- Mark as New
- Bookmark
- Subscribe
- Mute
- Subscribe to RSS Feed
- Permalink
- Report
07-21-2016
05:17 AM
I tried it , and its not working , maybe i'm not using it right , can you please give me the video tutorial link , or is there any other way to do it .
Message 5 of 9
07-21-2016
05:59 AM
- Mark as New
- Bookmark
- Subscribe
- Mute
- Subscribe to RSS Feed
- Permalink
- Report
07-21-2016
05:59 AM
hum, that should.
I've attached an mp4, let me know if you can view or not.
Here is a screenshot of the UI to remap.
The Skin Utils has 2 buttons; "Extract Skin Data..." and "Import Skin Data..."
steps.
Select the skinned mesh
Use the Extract Skin Data
> A new mesh appears in the scene, named the same way and has SkinData_ prefix
Select both your skinned mesh and the new SkinData_* mesh
Use the Import Skin Data
A mapping table appears
On the left are the target bones to map to, on the right there are the weighted bones weigths
Select on the Right the 2 bones you wish to remap, and in the left select the single one to receive the weights
Use the to left ( << ) button

You should see something like this : Where in the left side a single bone is mapped to 2

Once these mapping are manually edited, you may do the others using the Match By Name, it should remap the others.
Once all bones are remapped on the left side, press the Ok button to complete the operation.
That should do it.
If that still does not work,
> this may be due to the fact that the vertices are not 'baked' weights, relying on the 'envelopes' system.
If that is the case, you may bake them prior to the Skin Utils operation.
To do so,
select the Skin modifier
in sub object mode, select all vertices

And press the Bake Selected Verts button in the Weights Properties rollout

This will bake weights and enable the Skin Utils weights remapping.
Let me know if that goes better !
🙂
Jean-Thierry Roy
Quality Assurance Analyst
Report a problem in 3ds Max | Certified Hardware | How to Change Display driver | Troubleshooting
Message 6 of 9
07-22-2016
02:43 PM
- Mark as New
- Bookmark
- Subscribe
- Mute
- Subscribe to RSS Feed
- Permalink
- Report
Message 7 of 9
07-24-2016
09:39 AM
- Mark as New
- Bookmark
- Subscribe
- Mute
- Subscribe to RSS Feed
- Permalink
- Report
07-24-2016
09:39 AM
it worked thank you ,
um..... that file contained multiple animations and now when i reduced number of bones in one of them , how can I copy weights of bones from reduced bone animation to other animation clips (of same model)
Message 8 of 9
07-25-2016
10:08 AM
- Mark as New
- Bookmark
- Subscribe
- Mute
- Subscribe to RSS Feed
- Permalink
- Report
07-25-2016
10:08 AM
You would like to bring in the re-weighted mesh to a new animation scene ?
The Skindata_ object can be re-used on another copy of that mesh in a new scene, by using Max's Merge.
Or you would like to get the hi bone count animation to play on the low bone count rig ?
If you are looking to get the animation from hi bone count to low bone count rig, you could use the animation files .xaf
Main Max menu : Animation > Save animation
Saving animation from the hi bone count rig
then Animation > Load animation
on the low bone count rig.
Again, there would be a mapping table, in this case though, animation cannot be 'merged'. There could be lose.
If the removed bones did not 'really had animations' there should be not much lost in the process.
Animation is always in relation to a parent.
So leaf bones (child of the removed bones) could have issues if their new parent is not oriented the same way.
Work may need to be done there, that would depend on the rig and the bones that have been removed.
Most of issues may be 'fixable' using the "animation layers" or simply re-orient them while Auto-key is Off ; to re-orient leaf bones.
Jean-Thierry Roy
Quality Assurance Analyst
Report a problem in 3ds Max | Certified Hardware | How to Change Display driver | Troubleshooting
Message 9 of 9
06-27-2021
08:51 PM
- Mark as New
- Bookmark
- Subscribe
- Mute
- Subscribe to RSS Feed
- Permalink
- Report
06-27-2021
08:51 PM
Truely Thankful. It save a lot of time to readjust those bone weight data.
Reply
Topic Options
- Subscribe to RSS Feed
- Mark Topic as New
- Mark Topic as Read
- Float this Topic for Current User
- Bookmark
- Subscribe
- Printer Friendly Page
