- Forums Home
- >
- Revit Products Community
- >
- Revit Architecture Forum
- >
- Placing Revit beams using a Mass family created from a 3d Autocad dwg
Placing Revit beams using a Mass family created from a 3d Autocad dwg
- Subscribe to RSS Feed
- Mark Topic as New
- Mark Topic as Read
- Float this Topic for Current User
- Bookmark
- Subscribe
- Printer Friendly Page
- Mark as New
- Bookmark
- Subscribe
- Mute
- Subscribe to RSS Feed
- Permalink
- Report
Placing Revit beams using a Mass family created from a 3d Autocad dwg
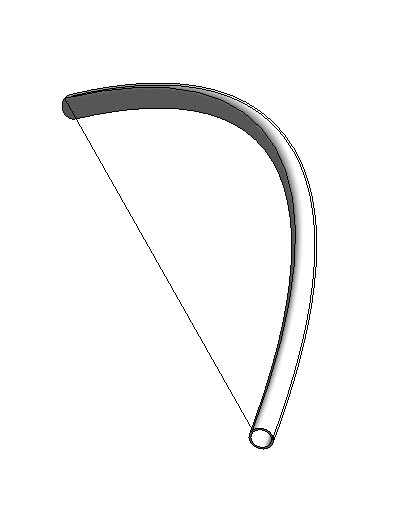
I have a 3d Autocad drawing that has been exported from Bently and i am trying to import it into Revit 2013 and add some CHS beams along the same centreline but am having problems.
The beam is curved in 2 directions.
Firstly i inserted it into a mass family and inserted the Revit Mass family into my Revit Model. I have done this before as i know a can apply faces to a mass family and use those. This is proving very difficult as i don't seem to be ably at all to determine the centreline of the circular beam...
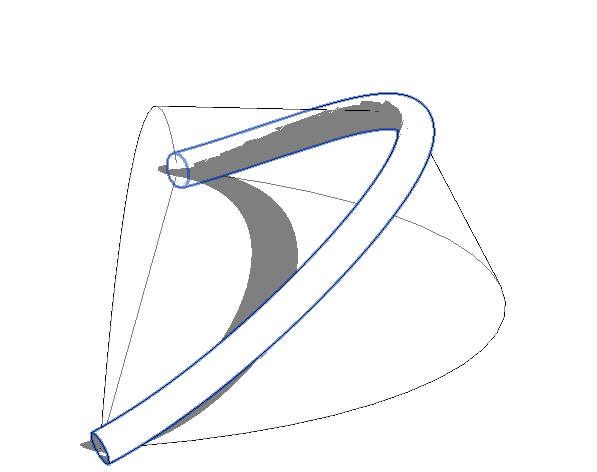
I've attached the dwg inserted into the Mass family to show what i'm trying to model in revit...
I have a tight deadline on this so any suggestions would be appreciated...
Thanx Barry
- Mark as New
- Bookmark
- Subscribe
- Mute
- Subscribe to RSS Feed
- Permalink
- Report
I do not understand quite well why do you need AutoCAD in all these.....as all can be done very well completely in Revit.. As Revit uses Reference Planes, I consider it more adequate to 3d geometric constructions...
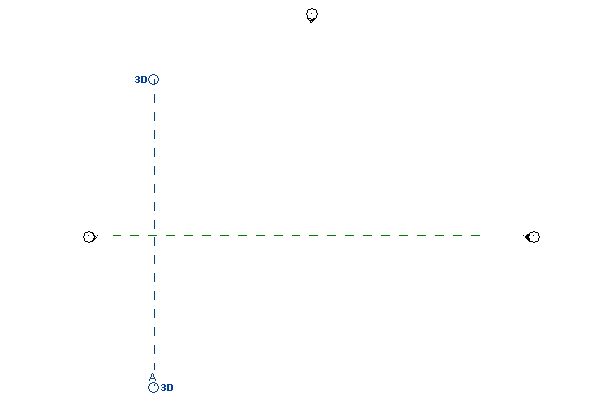
First , in project , create two Reference Planes in order to use them as helpers:
- In a Floor Plane create a vertical Reference Plane - name it :A
- and a second horizontal plane to be used as center axis for construction arcs
Now, in Massing and Site > In Place Mass:
- set Work Plane to Level 1 - draw an arc of circle (with the center on the horizontal reference plane)
- set Work Plane to Level 2 - draw an inner offset of the arc from Level 1
- select the two shapes ( I closed the arc with cords to obtain solid objects but is possible to use only surfaces) and Create Form > Solid Form - a half truncate cone will result..
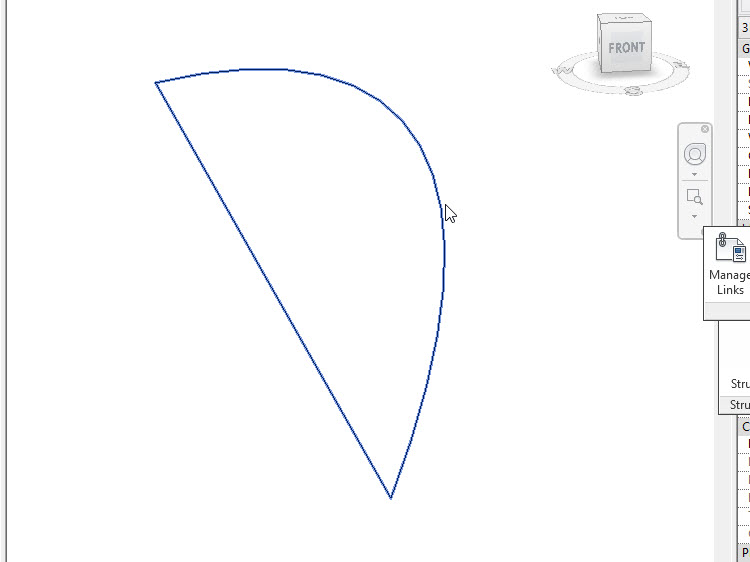
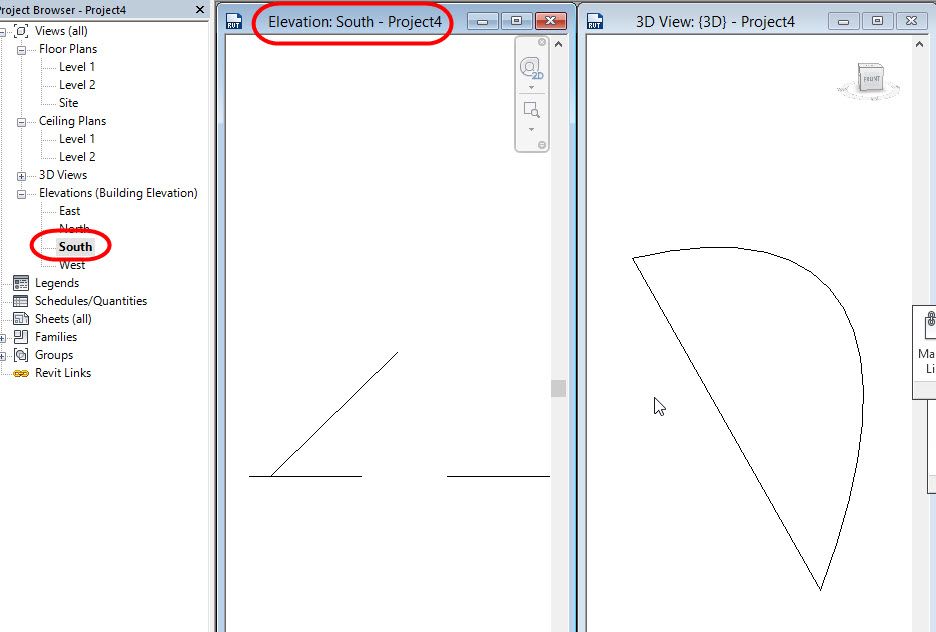
- create a second form, a half cylinder : in East Elevation - set the Work Plane to Reference Plane A ..draw an arc of circle ( with 3 points) - and close the shape as seen below
5.select the new created shape and : Create Form > Solid Form ( for the begining in order to adjust the extrusion)...adjust the extrusion
6. from Properties change the new form into Void...
7. save the resulted form and leave Mass editor
8. In project : Architecture>Component >Model in Place>Structural Framing> Name >Sweep - Pick the intersection line for path, as below...
and then Profil >Select Profil >Edit Profil - draw a circle...finish the sweep
Constantin Stroescu
- Mark as New
- Bookmark
- Subscribe
- Mute
- Subscribe to RSS Feed
- Permalink
- Report
hi
You can also use the following procedure:
1-According to the design draw arcs in AutoCAD.
2-in the Revit>Insert Tab> Import CAD. and Import CAD file into Revit.
3-An open Elevation view of the arc to see the skew line
4-Draw a Reference Plane on the arc skew And then select Reference Plane ,Specify a name in the Properties window.
5-open 3d View and click Beam tools>Pick line>On the Option Bar Placement Panel Open The list and Select Refrence Plane>Click On Arc.
6-Result
- Mark as New
- Bookmark
- Subscribe
- Mute
- Subscribe to RSS Feed
- Permalink
- Report
I would do this as a parametric family that can be modified easily with parameters, to explore different sizes, profiles, etc. as shown in the attached illustration.
This requires 3 families:
Family 1 is created with the generic model template, and it contains just a circle with type of different diameters.
Family 2 is made with the generic adaptive template, and it contains Family 1, one reference line and 2 adaptive points.
Family 3 is made with a generic model adaptive template. It contains 2 arcs, made with splines of 3 points, all flat at the reference level. Then these two lines are divided, and then Family 2 is drawn from one node of one spline to the correspondent node of the other spline. Then, the repeater family is repeated. The main beam is created as an extrusion of Family 1 along one of the arcs. Then, the midpoint of one of the splines is lifted to an upper reference plane to create the curvature.
The last image on the illustration shows the family already loaded in a project.
Alfredo Medina _________________________________________________________________ ______
Licensed Architect (Florida) | Freelance Instructor | Autodesk Expert Elite (on Revit) | Profile on Linkedin
- Subscribe to RSS Feed
- Mark Topic as New
- Mark Topic as Read
- Float this Topic for Current User
- Bookmark
- Subscribe
- Printer Friendly Page
